
How to Change the Time Zone
1. In this tutorial you will learn how to change the time zone in your AvidTrak account. By default, the AvidTrak platform’s reporting time zone is set to the Pacific Time Zone which is equivalent to UTC minus 8. If you leave the time zone settings unchanged, all your reports will be in the Pacific Time Zone.
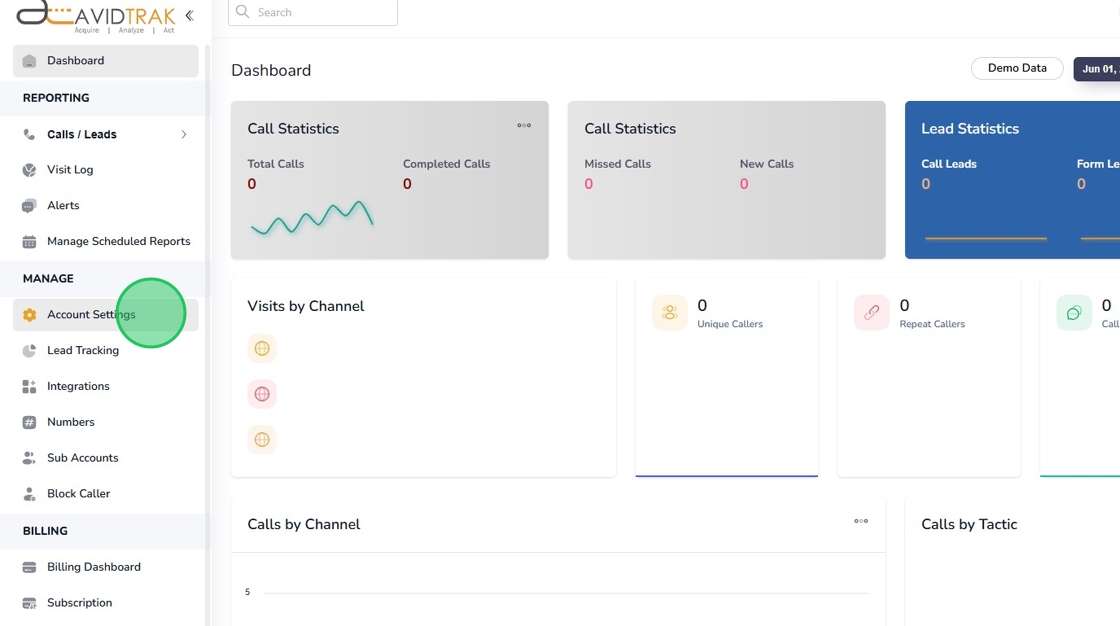
2. After logging into your AvidTrak account, navigate to the left menu bar and find the Account Settings link which is under the Manage section. Click the “Account Settings” link from the left menu bar.
3. Next, find and click the “Reporting Time zone” menu which will render all the available reporting time zones for this platform.
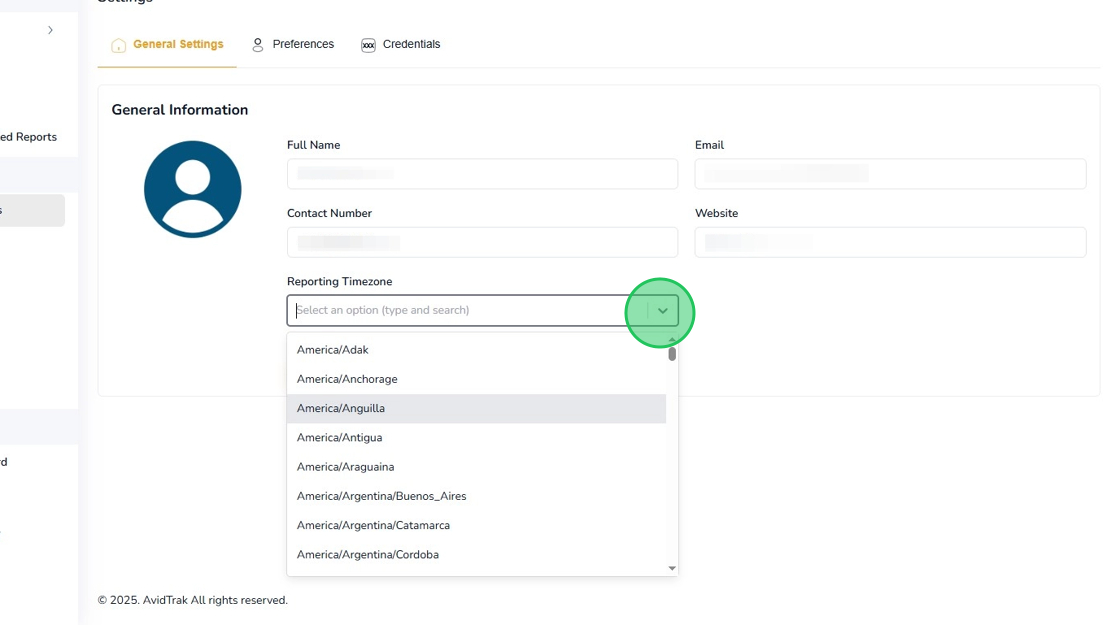
4. After finding and setting your desired time zone, click the “Save” button to save your time zone setting.

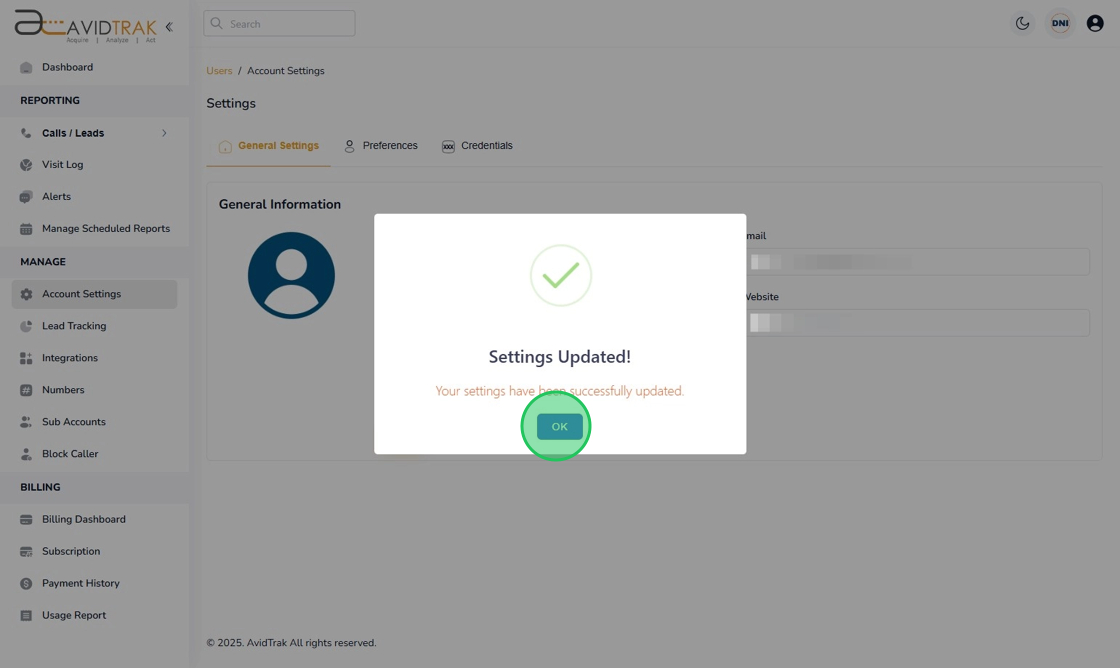
5. Click the “OK” button to confirm your settings.

6. Click the “OK” button again to move to the next step.
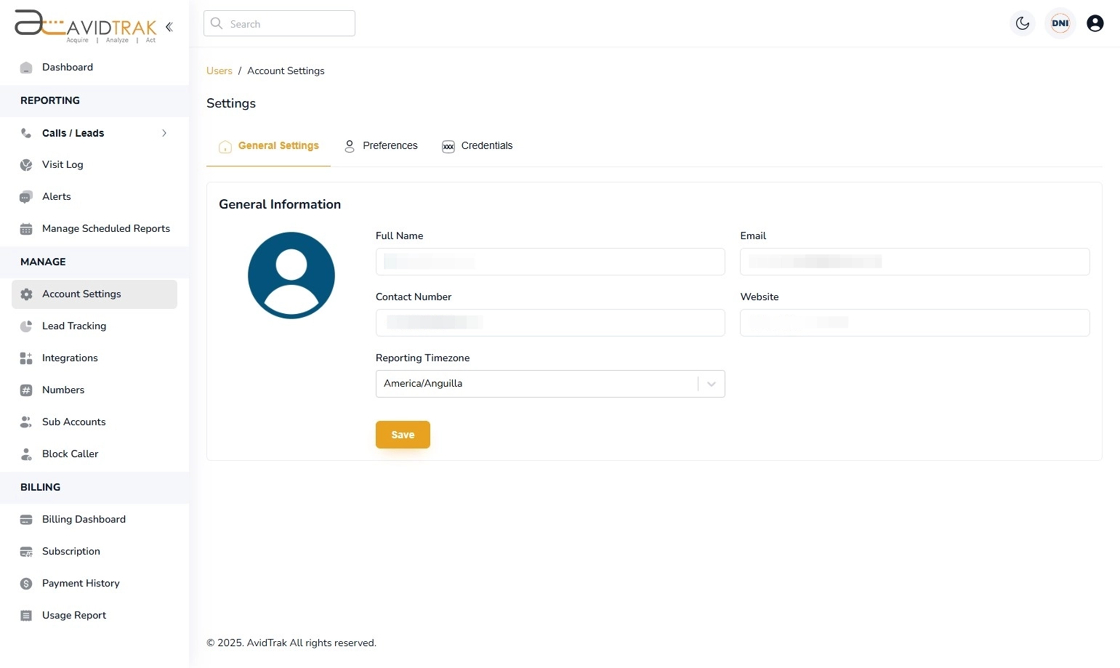
7. After you have successfully setup and saved the new Time Zone, the system will render the time zone that you have saved.
8. This completes the tutorial for how to set up the change Time Zone for your AvidTrak account. If you face any difficulty in implementing these instructions or have questions related to this feature, please do not hesitate in emailing support@avidtrak.com