
Setting up Your Custom Account Preferences
1. In this tutorial you will learn how to setup and customize your AvidTrak account. The topics that we will cover in this tutorial will be: (1) How to render a specific telephone number format for dynamic number insertion; (2) How to customize the reporting date format and (3) How to erase stored phone call records to comply with GDPR requirements.
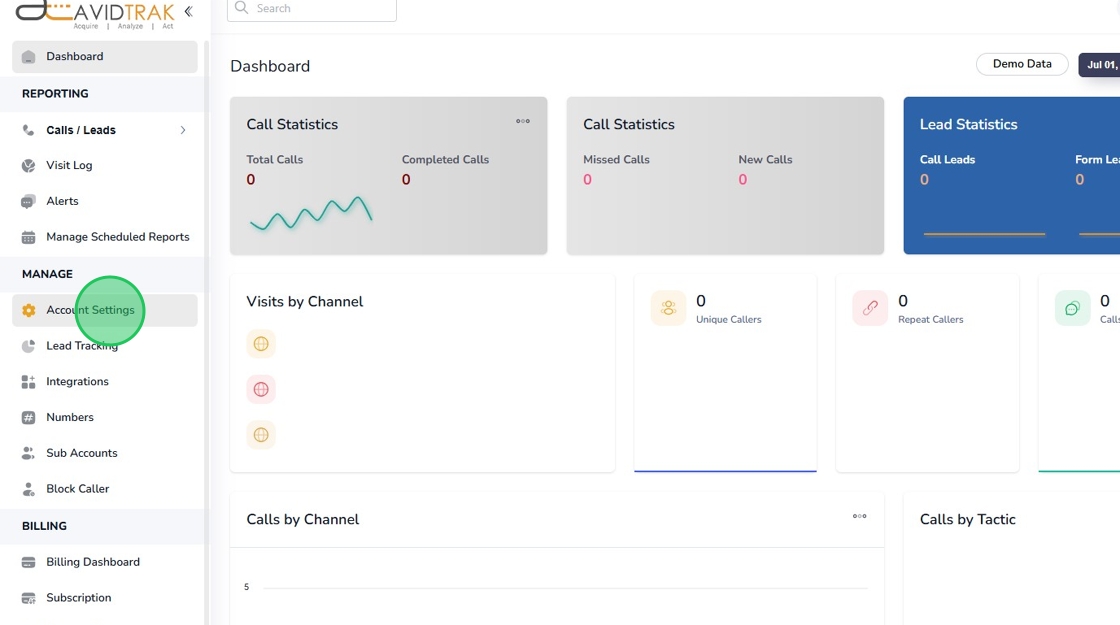
2. After logging into your AvidTrak account as an Administrator, navigate to the left menu bar and find the Account Settings link which is under the Manage section. Click the “Account Settings” link from the left menu bar.
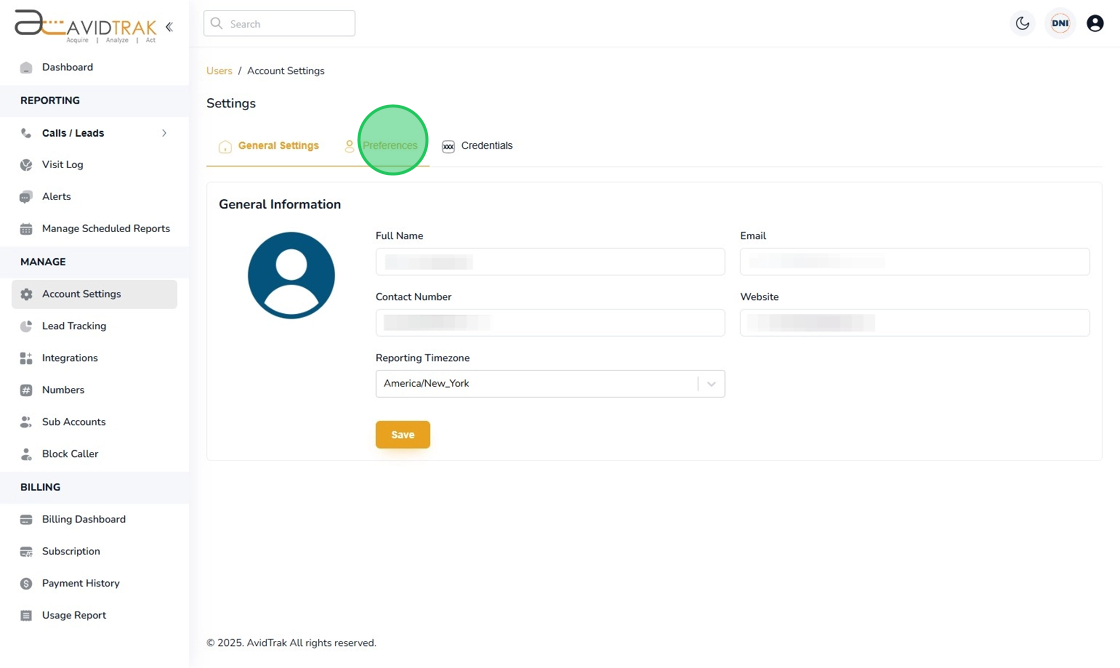
3. Next, click the “Preferences” link
4. Find and click the “Number Replacement Format (DNI Settings)” such that the system renders to you the available options on how the telephone number will be rendered to the website visitor. By default, our system is setup to use the standard American telephone number format, however, you have several options to choose from in our number format menu.

5. After you have made your selection, click the “Save” button to apply your setting.

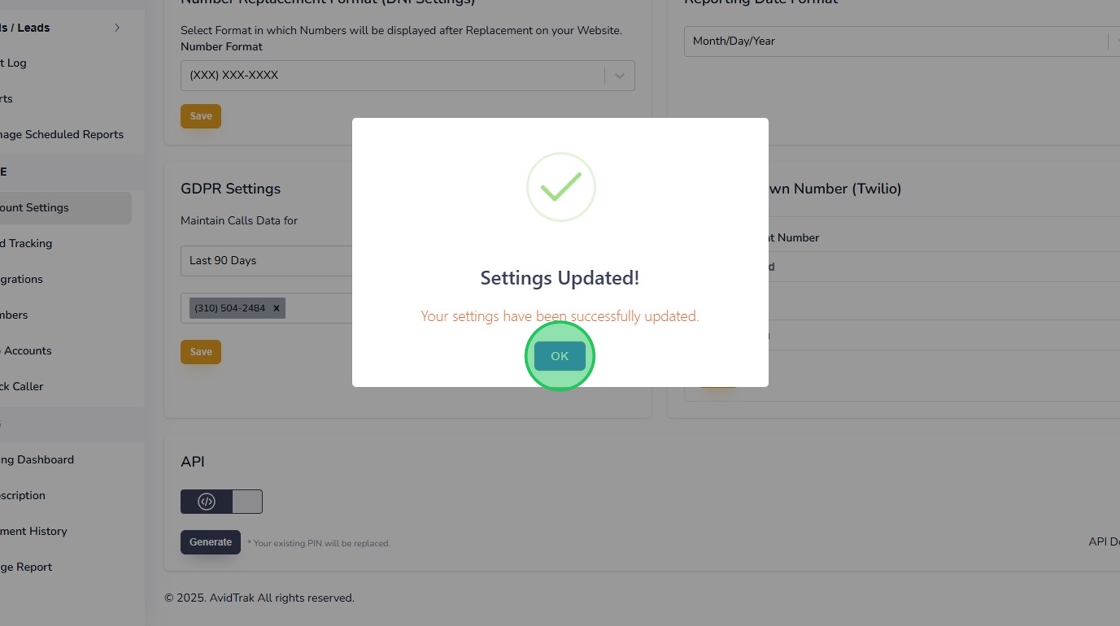
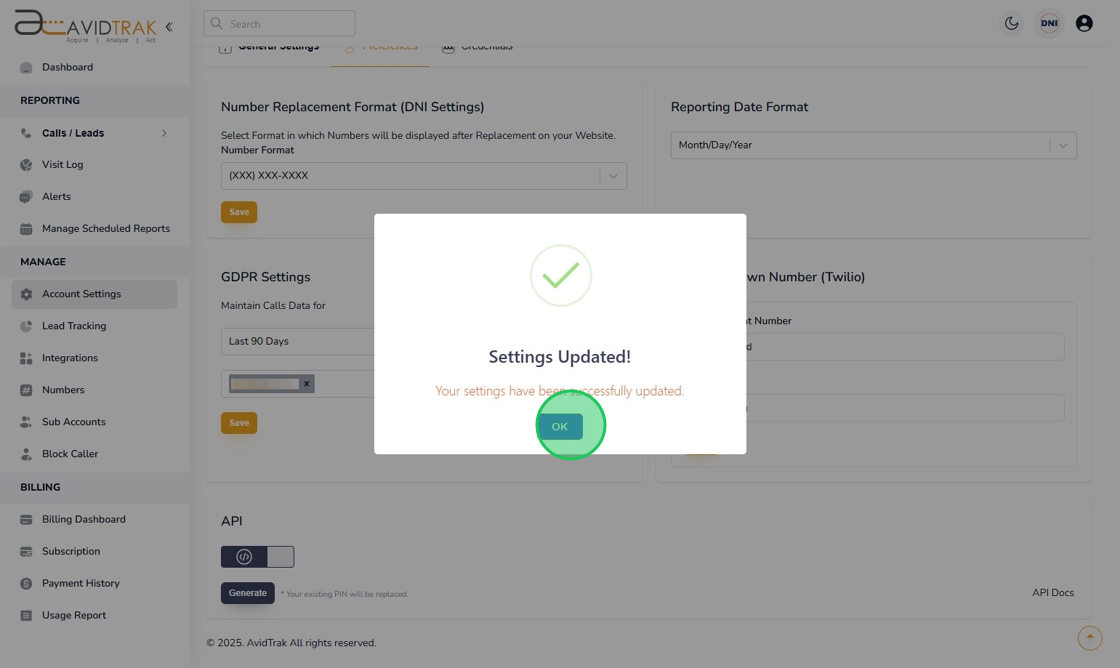
6. Click the “OK” button toconfirm your settings.

7. Click the “OK” button once more to complete this instruction.

8. To amend the reporting date format, navigate to the “Reporting Date Format” tile and click the field to render the available reporting date format. By default, this platform renders the date in the standard American format of: Month, followed by Day of the Month followed by the Year.
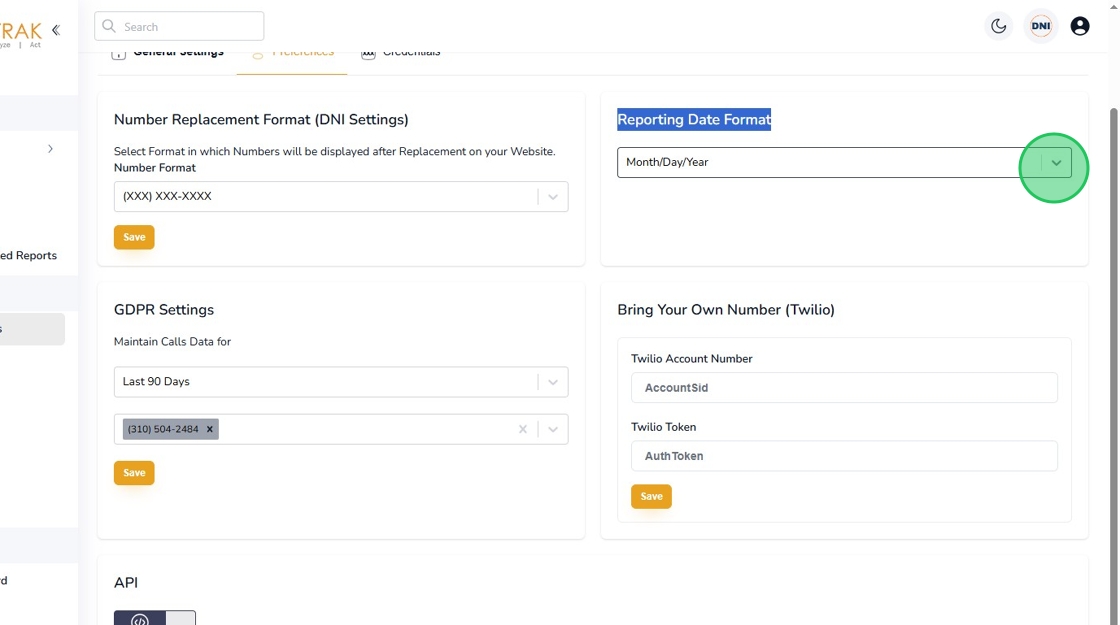
9. After selecting your desired reporting format, which in this case is “Month/Day/Year” move on to save your settings and click the Save button.

10. Click the “OK” button to confirm your settings.
11. Click the second “OK” button to advance to the next step.

12. If you are in a part of the world where GDPR as in “General Data Protection Laws” are applicable, click the “GDPR Settings” area. If you are not impacted by GDPR laws, you may skip this step.

13. To determine how long you are legally allowed to retain customer data please check with your government customer data protection regulatory bodies that oversee GDPR regulations. After you have obtained the required information, click the “Maintain Calls Data for” area to render the available options. Please note that once you make the selection for the GDPR data retention and save your settings, AvidTrak will permanently expunge from your account those data that do not fall within the date range that you have specified. Therefore, please undertake this step with deliberation so that you do not accidentally delete data that could have been retained legally.

14. After you have made your selection, which in this example we have selected as “Last 90 Days” proceed to the next step.

15. In the phone selection option, you may select the telephone numbers to which this GDPR setting is to be applied.

16. After making the phone number selection, click the “Save” button to save your settings.

17. Click the “OK” button to confirm your settings.

18. Click the “OK” button again to proceed to the next step.
19. This completes the tutorial for how to update and customize your Account Setting in your AvidTrak account. If you face any difficulty in implementing these instructions or have questions related to this feature, please do not hesitate in emailing support@avidtrak.com