How to Create a Site Number Group
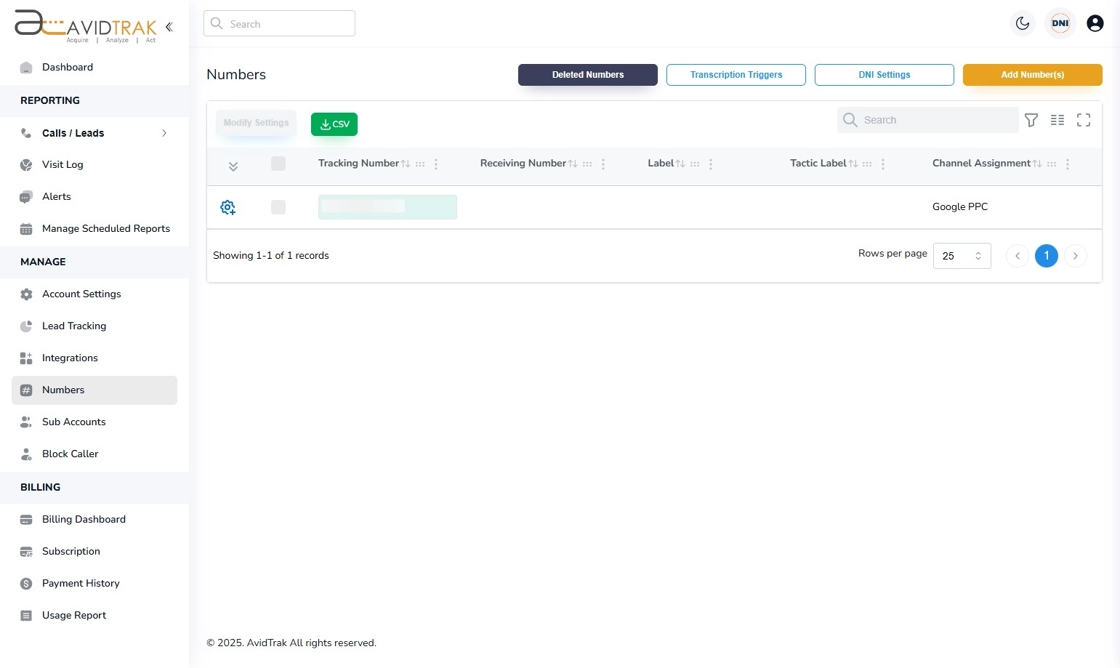
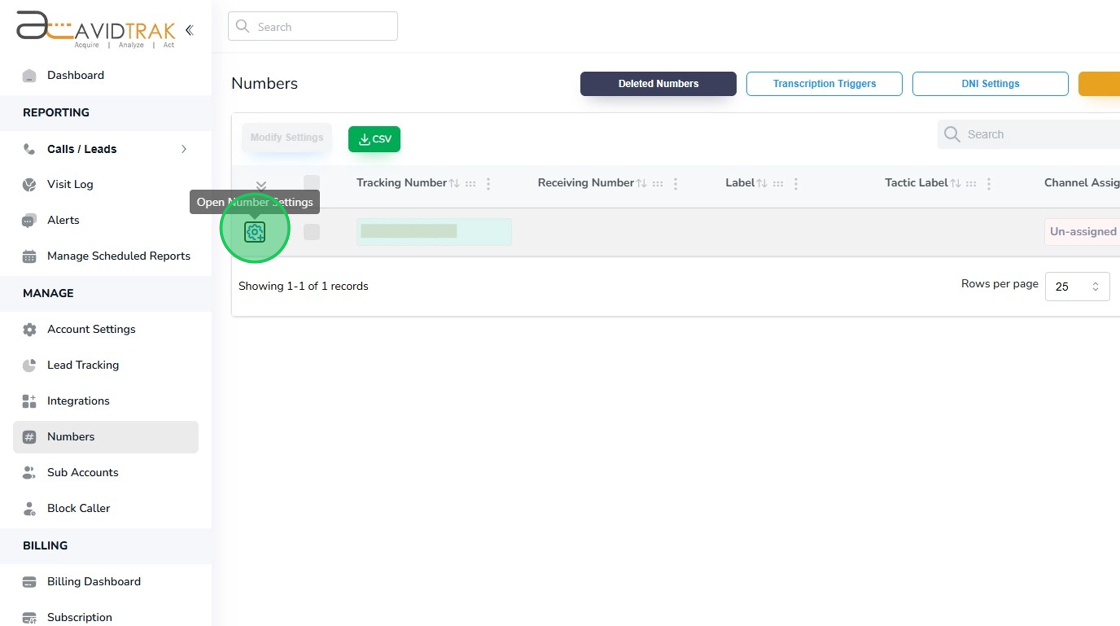
1. In this video you will learn how to dynamically swap an existing hard coded number on your website with a tracking phone number. To start this task, click the blue gear icon adjacent to the telephone number that you wish to assign a site number group.
2. Click the “Assignment” blue button.

3. Click the Channel field to render the drop-down options.

4. In the channel assignment options that get rendered, select a channel. In the example here we have selected Google PPC as a website traffic referring channel by applying a click.

5. After assigning the marketing channel to a number, go to the site number group field and click the same.
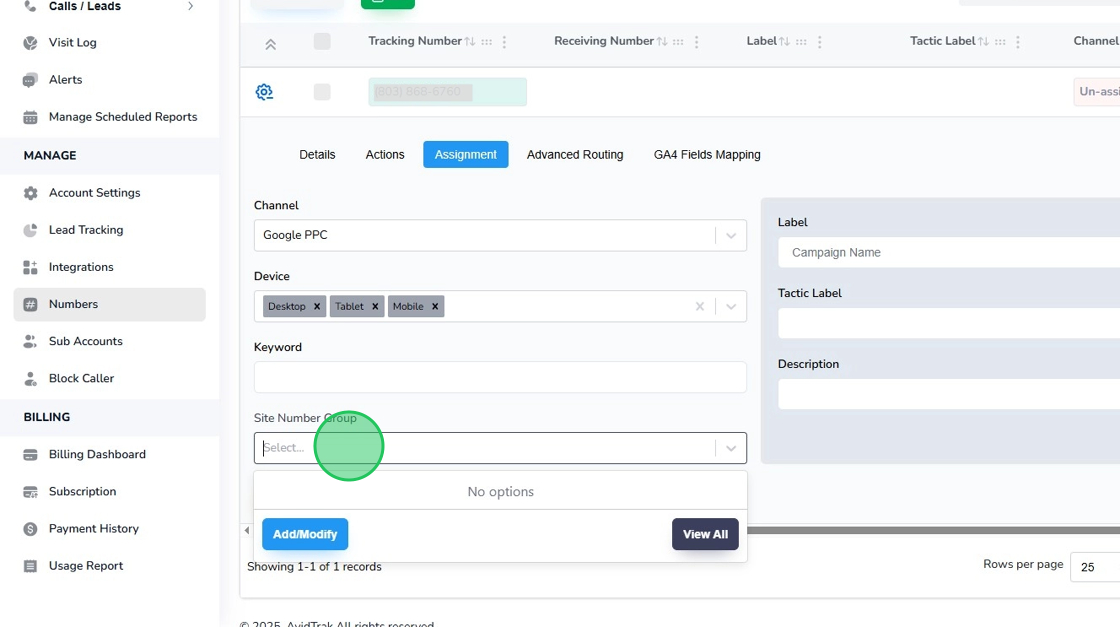
6. Click the blue colored “Add/Modify” button to navigate to the next step.

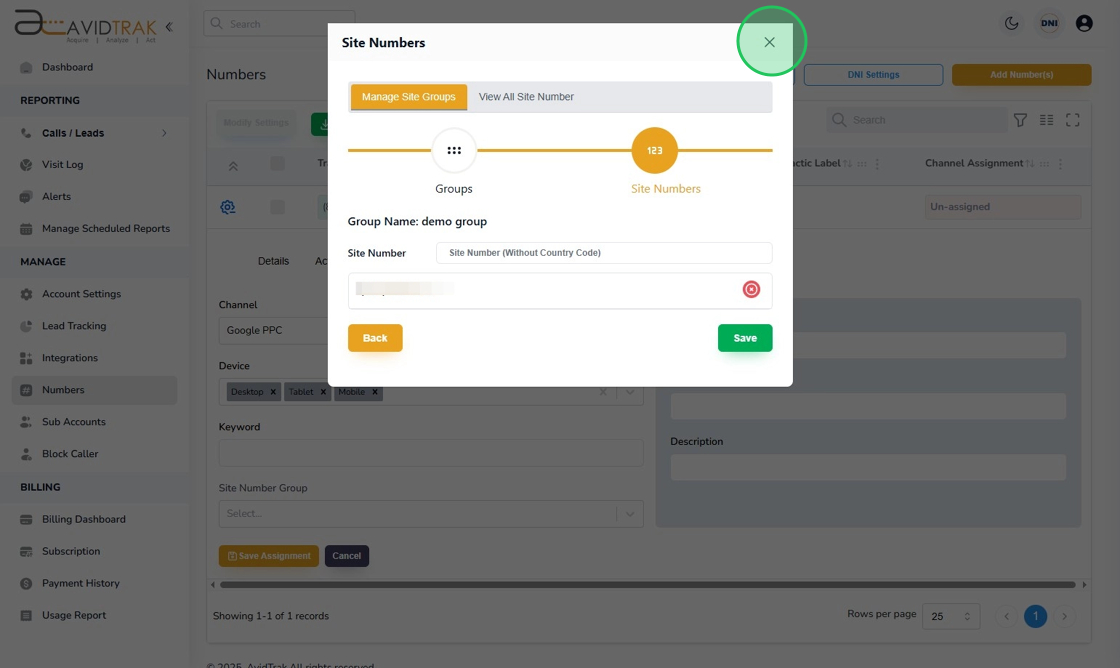
7. In the Site Numbers setup popup that opens up click the Group Name field.
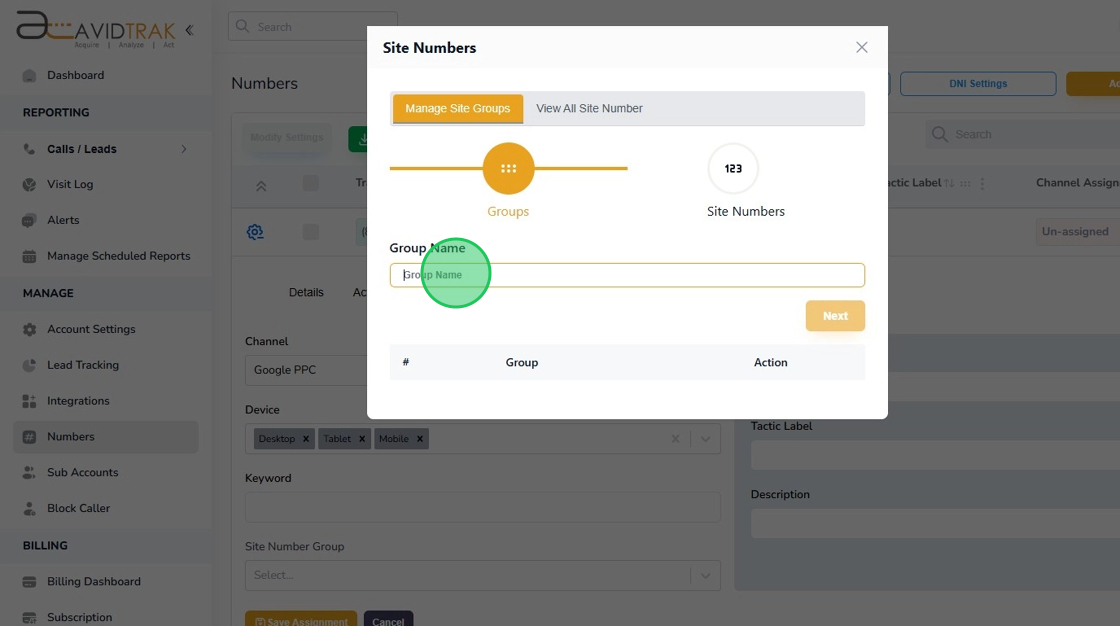
8. Enter a group name in the Group Name Field. In this example we have entered “demo group.” However, you can enter any name that is descriptive and short in length.

9. Click “Next” to move to the next step.

10. Click the “Site Number” field and enter the target swap, ten-digit telephone number that appears on your website. The target swap telephone number will be replaced with the tracking number that is being assigned the site number group.

11. Click the “Save” button to save your settings.

12. Click the “OK” button to navigate to the next step.

13. Click the X icon on the upper right hand corner to advance to the next step.
14. After you are returned to the Assignment screen, click the Site Number Group field again.

15. The site number field will render the group name that you saved in the previous step. In this example we had saved “demo group” which we will select.

16. Click the “Save Assignment” button to save the site number group.

17. Click “Ok” to reconfirm your selection.

18. Click “OK” again to advance to the next step.

19. Click the blue colored gear icon to collapse the number setup fields.

20. This completes the tutorial for assigning a marketing referral channel to a tracking phone number as well as how to assign and setup a target site number with a group name to a tracking phone number.