How To Set Up Phone Call Alerts and Reports
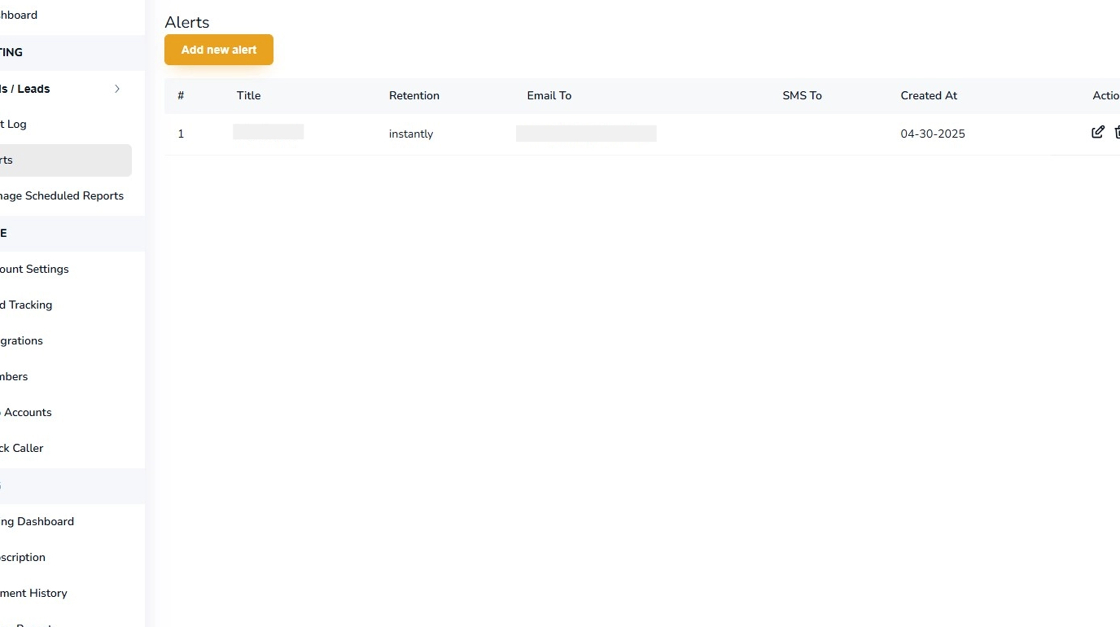
1. From the left menu bar, Click “Alerts”

2. Click the “Add new alert” button

3. In the “Alert Title” field enter a suitable name for the alert. For example, you may name your report ‘Weekly Completed Phone Call Report for ABC Plumbing’

4. In the “email” field enter the email addresses for the recipients who will receive the report. To send out emails to multiple recipients, use a comma separator between each email address.

5. Next, navigate to the “Select Tracking Number(s)” field and select the tracking numbers that you wish to include in your report. You can select a single number, multiple numbers or all the numbers.

6. In the field titled ‘Retention’ select the delivery cadence of the report that is to be emailed. Your cadence options are instantly, daily, weekly and monthly. Instantly will send a report within 10 minutes of a call completion. Daily will send a report at the end of the day. Weekly will send a report every Monday for the period covering the previous Monday to Sunday. Monthly will send a report on the first of every month for the previous month.

7. Next in the “Email Subject” field enter a suitable name for your email subject. Pro Tip: The email subject should be succinct and contain subject matter that is relevant for the email recipient. An example would be, ‘Weekly Manifest of Completed Phone Calls for ABC Plumbing and Heating.’

8. In the call status filters field, select the appropriate filter that you wish to apply for the report. For example, if you select ‘No-Answer’ then you will be creating a report that captures all the calls that were not answered. Whereas, if you select the All filter, you will be reporting on all calls regardless of the call connection status.

9. If you have enabled the voicemail module associated with the tracking numbers, and you wish to report on only calls that were sent to tracking numbers’ voicemail, then enable the on button for voicemail. Inversely, if you wish to report on only calls that were not sent to voicemail then enable the Non-Voicemail button.

10. Next, in the call duration filter select the call duration filter parameter you wish to apply. For example, if you wish to report on only those calls that last greater than 30 seconds, apply the Greater than parameter.

11. After you have applied the filter parameter, enter a whole number in the duration field. Note that the value you enter must be a digit greater than zero and must not have a fraction or decimal point. For example, if you wish to report on calls greater than one half of a minute you will need to enter the digits 30 in the digit value field.

12. Next in the company name field enter your company name.

13. In the Main Message field enter a message that is suitable for your audiences.

14. Next, in the Thank you message field, enter a message that is suitable for placement at the bottom of the email. You can use the default place holder values, or you can alter the message to your use case.

15. In the website address field, enter your domain name or leave blank.

16. In the support email field enter your email address or leave it blank.

17. Next, in the Footer message field, enter an opt-out email address that would allow the email recipient to contact you in case they wish to opt out of receiving future emails.

18. Next, select the variable fields that you wish to report in your report. For example, you may select the number label to be incorporated into the report. Add as many as eight variables to your report.

19. Next, if you wish to add your business logo to your email, click the “Logo Upload” button.

20. Navigate to the “Choose File” field and select your logo file. Pro Tip for best results of rendering your logo, for a rectangular logo, your logo should be 200 pixels wide by 50 pixels in height. If you have a square logo, we recommend 140 by 140 pixels.

21. After you have uploaded your logo, click the Preview icon to render an example of the email.

22. If the example results of the preview are satisfactory click the “Save Alert” button to save your settings.

23. Click the “OK” button to reconfirm your save setting.

24. Congratulations! You have now completed and successfully saved your email alert report and should be able to see your alert report manifested in the Alerts report. If you face any kind of issue setting up the alert feature please do not hesitate to email support@avidtrak.com.