
Setting Up IVR Routing Template in Avidtrak
1. In this tutorial you will learn how to setup an Interactive Voice Response, also known as an IVR, to forward calls to different call receiving parties. An IVR allows a business to route calls to different departments within the business based on a single key press by the calling party. A typical use case would be a company with three or four departments such as Sales, Support, Accounting and Administration.
To setup this feature in your account, login to your AvidTrak account using your Administrator’s login credentials.
2. After you have successfully logged into your account, navigate to the left navigation area, and find and click the Numbers link that appears under the Manage menu section.

3. Find the telephone number that is to be set up with the IVR Routing, and then click on the blue gear icon that is adjacent to the telephone number to open that number’s settings.

4. Click the “Apply Advanced Routing” checkbox.

5. Select the “IVR Routing” option.

6. Next navigate to the ‘Select Template’ field. If you do not already have a template setup you will need to setup a new template.
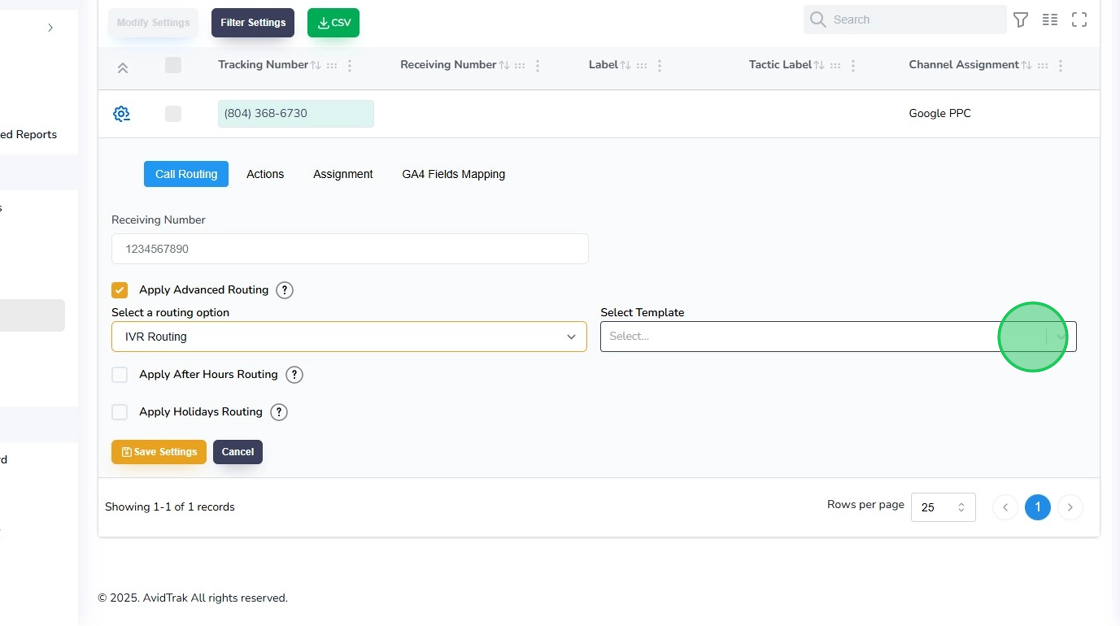
7. Click the “Add/Modify” button to create a new template of IVR Routing if a template does not already exist.

8. Next, in the template name field, enter a template name. Pro Tip: Please do not use any special characters in the template name field and keep the template name to less than fifty characters in length.

9. Next, in the Welcome Message Field you may either enter a greeting which will be heard by the calling party, or you may upload an MP3 file which has been prerecorded by you. For example, a typical example greeting for a plumbing company would be, “Welcome to Acme Plumbers. Please listen carefully to our menu options.”
In the Wrong Key Press Message field, you may enter a short message that will be heard by the calling party in case they enter an incorrect key. A typical message would be, “We are sorry but we do not recognize the digit that you have entered.
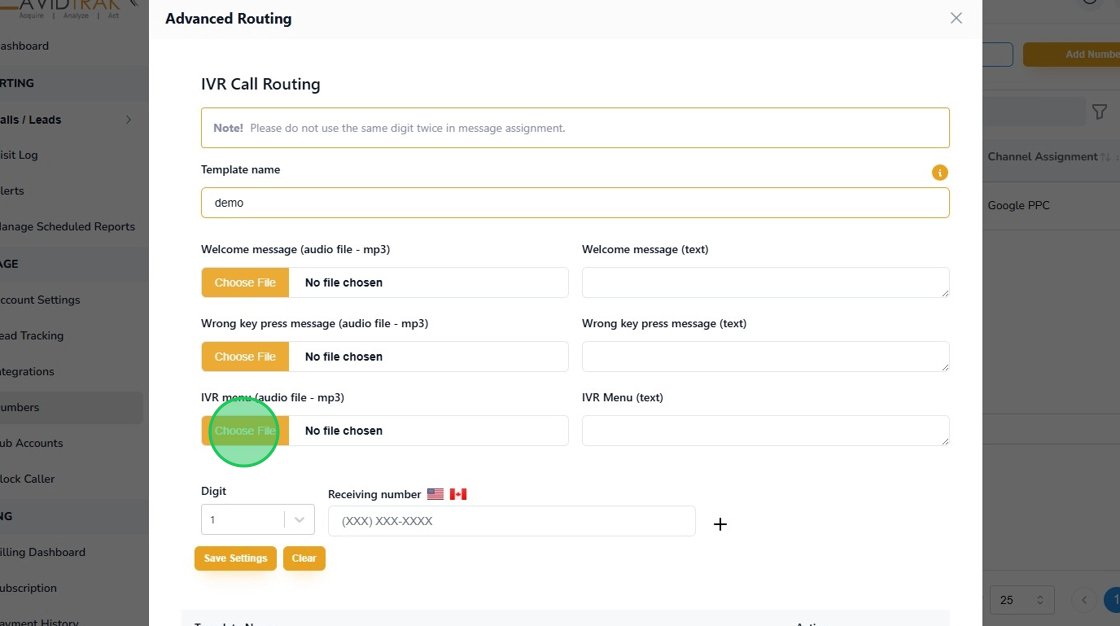
10. In the IVR Menu section, enter the IVR menu that you would like to play to the caller. For example, “Press 1 for our sales department. Press 2 to speak to our service team member. Press 3 for accounting questions and Press 4 for all other inquiries.”

11. After you have completed the greeting, wrong key press advisory and IVR menu audio settings, you are now ready to configure the actual IVR menu options. To deliver a good experience to a caller we recommend no more than five menu options as long menus tend to confuse callers. To get started select Digit 1 for the first keypress.

12. Next, in the Receiving Number field, enter a US or Canadian telephone number of the first call receiving party. Enter all ten digits of the phone number of the call receiving party. To add the second call receiving party click on the plus symbol and select the digit 2. Enter the US or Canadian telephone number associated with the second call receiving party. Pro Tip: If you have the same individual performing different job functions, You may repeat the same telephone in the call receiving number field even if the menu item of the IVR is a different digit.

13. After entering the IVR Routing telephone number digits, click the “Save Settings” button to save your settings.

14. Click the “OK” button to confirm your selection.

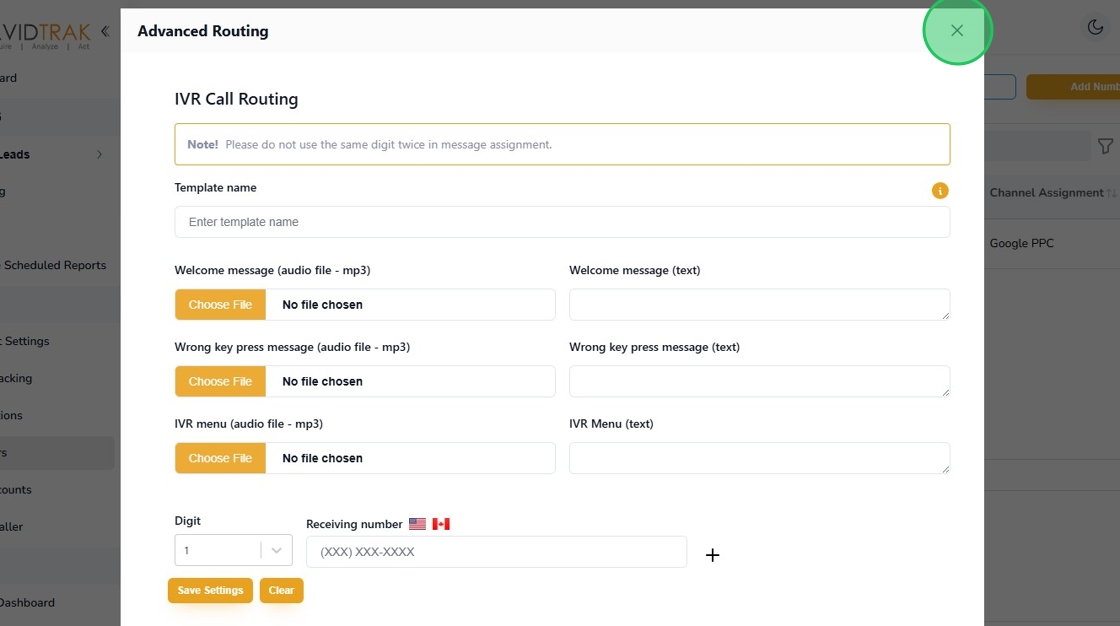
15. To close and exit your setup, click the X icon that appears on the upper right corner of the screen.
16. Next, to apply the template that you have setup, click the Select Template field and allow the drop-down options to appear.

17. Select the template that you wish to apply to the number.

18. After applying the template to the number, click the “Save Settings” button to save your work.

19. Click the “OK” button to confirm your selection.
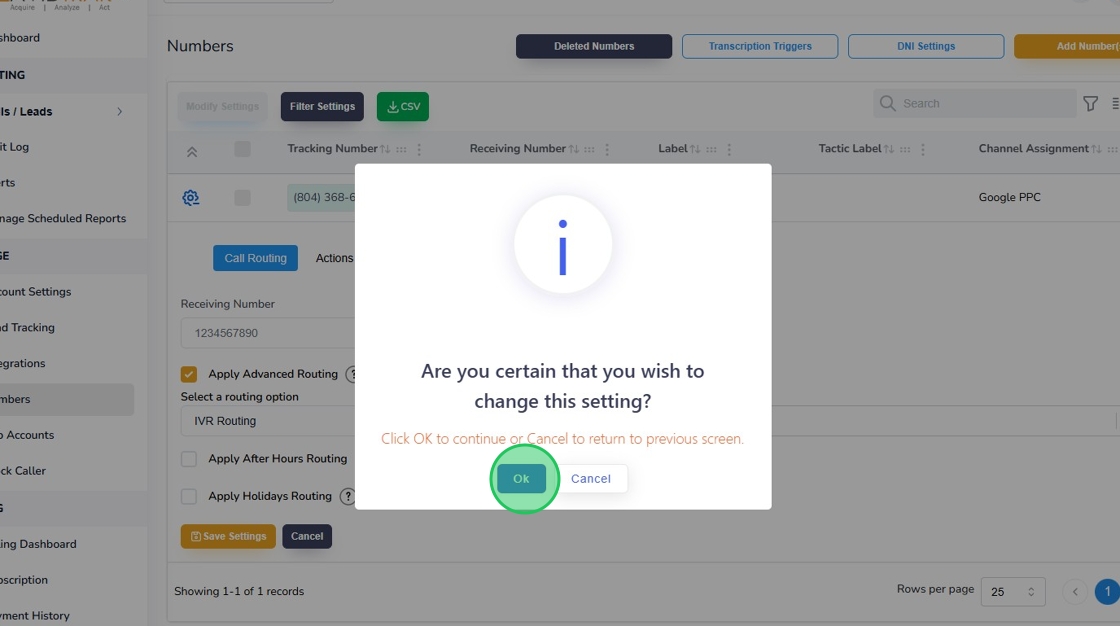
20. Click the “OK” button again to acknowledge the change in the setting.

21. Once you have successfully setup and saved the IVR call routing system on this platform, you will see your setting appear below the telephone to which it has been applied. You are now ready to test the work that you have completed. Call the telephone number that has been enabled with the IVR feature and validate that the IVR call forwarding performs as per your settings.

22. This completes the tutorial for how to set up the IVR Routing. If you face any difficulty in implementing these instructions or have questions related to this feature, please do not hesitate in emailing support@avidtrak.com