
Setting Caller Name and Track ID
1. In this tutorial you will learn how to enable the Caller Name, also known as a C NAME feature, such that you will be able to obtain the registered name of a calling party. Please note that the name of the calling party is not always made available by the calling party’s carrier, and that charges will be applied to your account for searching and providing the name of the caller. In addition to the caller’s name, you will also learn in this tutorial how to enable the tracking telephone number ID commonly called the Track ID. When the Track ID is enabled, a call receiving party sees the ten digit telephone number of the tracking telephone number, instead of the ten digits of the calling party’s telephone number.
The Track ID is commonly enabled by affiliate marketers and lead generators to mask the identity of the calling party such that the call receiving party cannot call the calling party directly. Affiliate marketers use the Track ID as a mitigation measure against bad actor lead purchasers who otherwise might attempt to deny payment for legitimate inbound phone call leads. By default every telephone number in your account will have the Track ID disabled.
To setup the Caller ID and Track ID feature in your account, login to your account using your Administrator’s login credentials.
2. After logging into your account, navigate to the left menu bar and find the Numbers link which is under the Manage section. Click the “Numbers” link from the left menu bar.

3. Click on the blue gear icon to open the number settings.

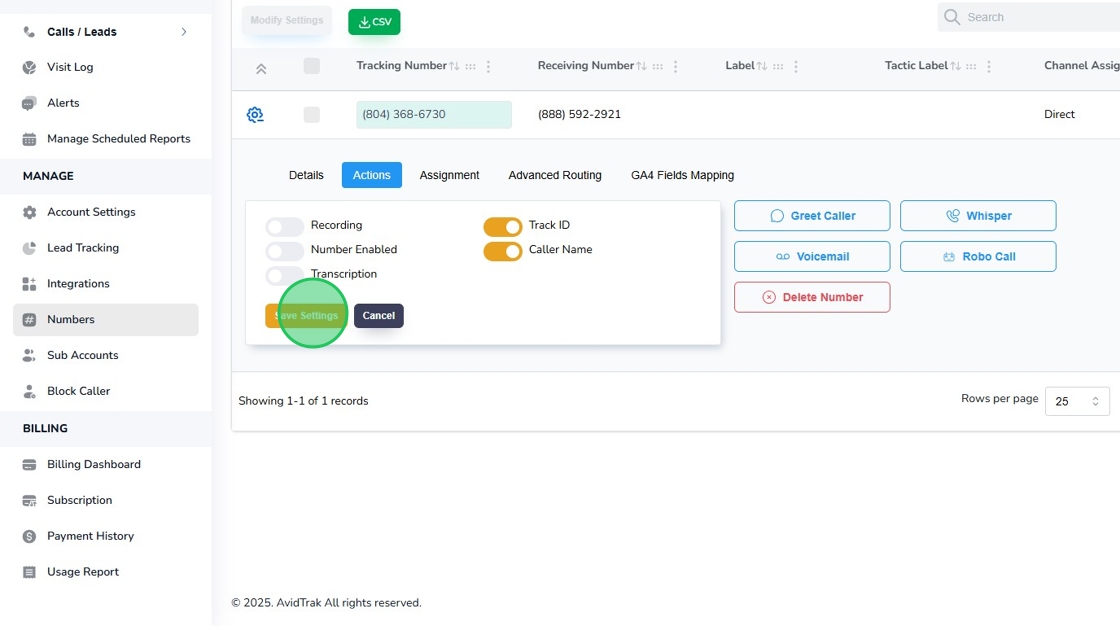
4. When the number settings menu is displayed, click the “Actions” tab.

5. Slide the Track ID button switch to the right to enable the feature. Please note that once you enable the Track ID feature, the call receiving party will see the ten digits of the tracking telephone number instead of the ten digits of the telephone number of the calling party. Pro Tip, if you are an affiliate marketer that sells inbound phone call leads to lead buyers, ask your clients to save your tracking telephone numbers’ digits with your company name such that you get the necessary credit for your efforts.

6. To enable the Caller Name feature, slide the Caller Name button switch to the right. Please note that we cannot always obtain a caller’s name, and that charges of up to one cent will be applied to your call tracking account for each phone call record that we attempt to process for a caller’s name.

7. Click the “Save Settings” button to save your setting.
8. Click the “OK” button to reconfirm your settings.

9. Click the “OK” button again to move to the next step.

10. If you do not have any other settings to modify on the tracking telephone number, you may click the Cancel button to exit the number settings screen.

11. This completes the tutorial on how to enable the Caller Name and Track ID feature in your account. If you face any difficulty in implementing these instructions or have questions related to this feature, please do not hesitate to email support@avidtrak.com