
Phone Call Routing During Holidays
1. In this tutorial you will learn how to setup and forward phone calls to different telephone numbers during the holiday season when your office is closed. After you have completed the steps outlined in this tutorial, we strongly recommend that you test your work by dialing the AvidTrak telephone numbers that have been setup with Holidays call routing.
2. To get started, login to your AvidTrak account and from the left menu select the Numbers link under the Manage section.

3. Next click the “Numbers” link

4. Find the telephone number that is to be set up with the Holidays Call Forwarding and then click on the blue gear icon that is adjacent to the telephone number to open that number’s settings.

5. Click the “Apply Holidays Routing” checkbox.
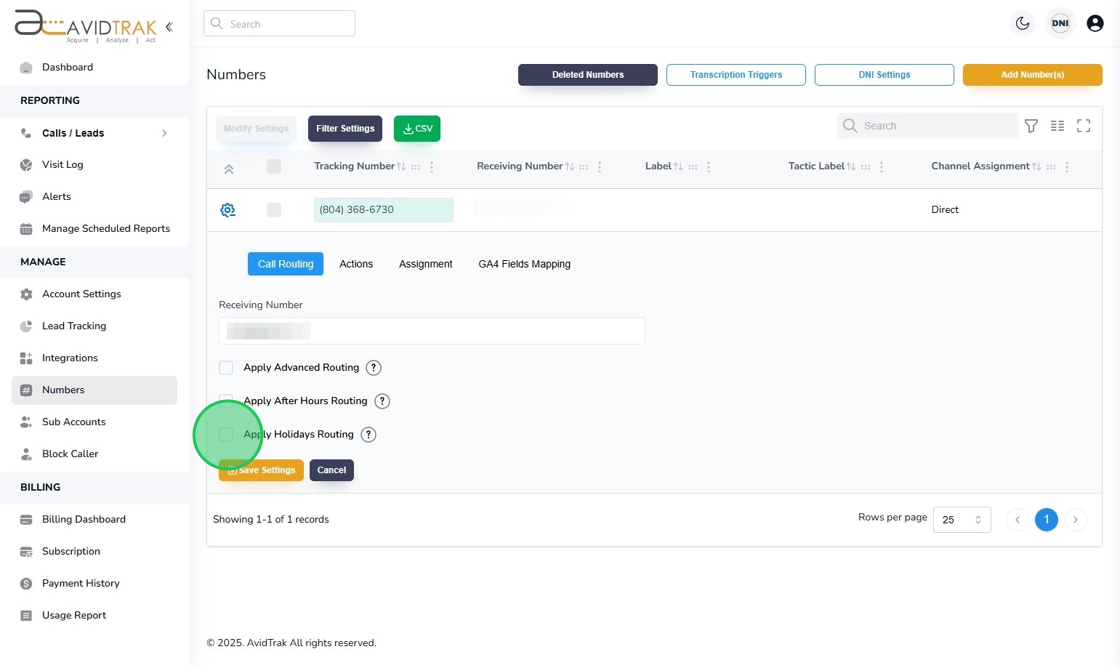
6. Next, to apply an existing Holidays’ template that you have already setup, click the Select Holidays Routing Template field and select your template from the drop down menu.

7. If you do not already have a Holidays Call Routing template setup, click the “Add/Modify” button to create a new template.

8. Next, in the template name field, enter a template name. Pro Tip: Please do not use any special characters in the template name field and keep the template name to less than fifty characters in length.

9. Next, Click the “Holiday Date” field and apply the dates when the Holiday call forwarding is to be in effect. The system assumes a 24-hour day and the Holiday call forwarding is applied to the entirety of the day.

10. Next, Select the “Routing Type”. In the routing type field, you have the option of terminating to a single number or to multiple numbers using the Sequential, Simultaneous or IVR routing framework.

11. Next, in the Receiving Number field, enter a US or Canadian telephone number of the first call receiving party. Enter all ten digits of the phone number of the call receiving party. Please note that in the example shown here we are assuming that calls will be placed into a single termination number.
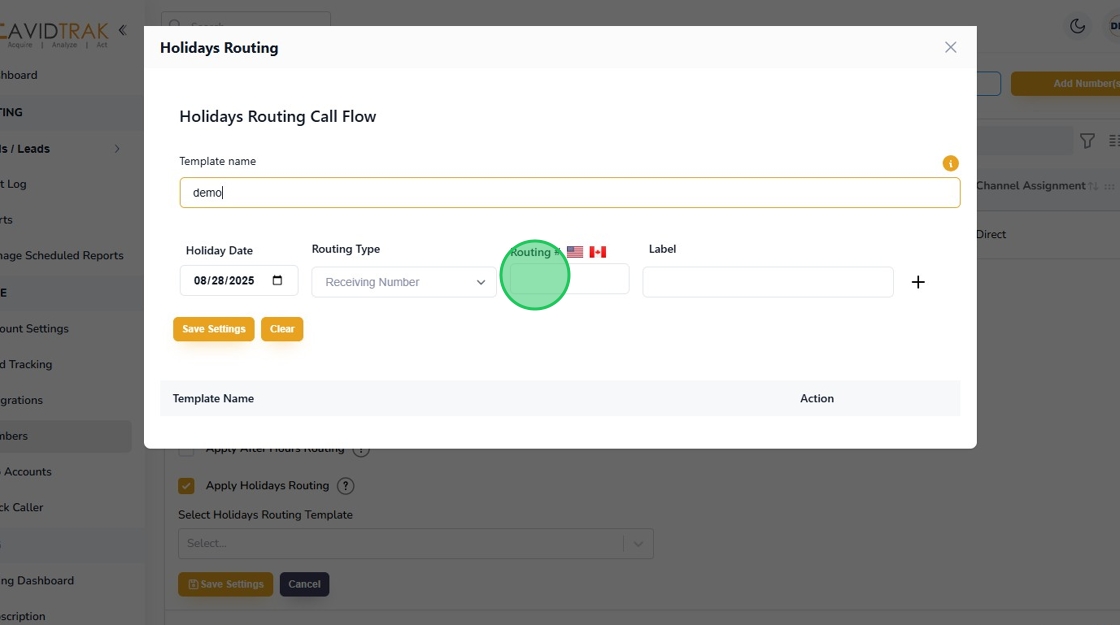
12. Next, Click the “Label” field and enter a label for the termination telephone number.

13. If you wish to enter more holidays then click the plus symbol and repeat steps 09 , 10 and 11

14. Click the “Save Settings” button to save your settings.

15. Click the “OK” button to confirm your selection.

16. To close and exit your setup, click the X icon that appears on the upper right corner of the screen.

17. Next, to apply the template that you have setup, click the Select Template field and allow the drop-down options to appear.

18. Select the template that you wish to apply to the number.

19. After applying the template to the number, click the “Save Settings” button to save your work.

20. Click the “OK” button to confirm your selection.

21. Click the “OK” button again to acknowledge the change in the setting.

22. Once you have successfully setup and saved the Holidays Routing on this platform the refreshed page will appear as the screen below. Pro Tip: Please do not forget to test the work that you have performed by dialing the AvidTrak number to ensure that it is forwarding correctly during the Holidays Routing.

23. This completes the tutorial for how to set up the Holidays Routing. If you face any difficulty in implementing these instructions or have questions related to this feature, please do not hesitate in emailing support@avidtrak.com