
Setting Up Google Tag Manager for AvidTrak
1. In this tutorial you will learn how to setup your Google Tag Manager (GTM) account to fire the AvidTrak JavaScript (JS) on your web pages. While you do not necessarily need to utilize GTM to deploy your AvidTrak account’s JS, as the latter may be installed directly on your web pages, if you are already using GTM to manage and control the JavaScript deployment of other tracking scripts, following this tutorial will allow you to do the same for the AvidTrak JavaScript. To perform the tasks outlined in this tutorial you will need Admin access to: (1) Your Google Tag Manager account; (2) Your website and (3) Your AvidTrak account.
2. To get started sign in to your Google Tag Manager account and after signing in, click the “Create Account” button which will be found within the Accounts Tab.

3. In the Account Setup fields that are rendered, navigate to the “Account Name” field and enter a name. In this example we have entered “AvidTrak” as the Account Name.

4. Next, in the country field select the country. In this example we have selected “United States” as our option.

5. Next, navigate to the “Container name” field and enter a name for your container. In this example we have entered www.avidtrak.com.
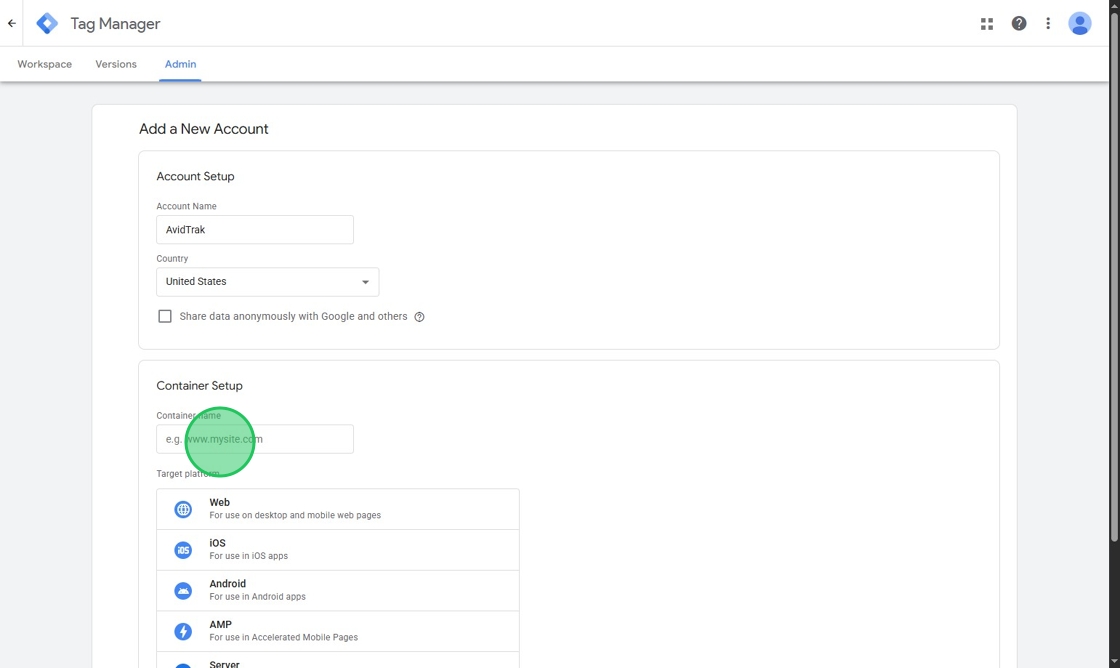
6. After adding a container name, select the platforms where you wish to target the GTM installation. In this example we have selected the option called “For use on desktop and mobile web pages.”

7. After completing your targeting options click the “Create” button.

8. Click the “Yes” button on the upper right corner of your screen after you have read and agreed to Google’s terms of use of its services.

9. Click the X icon on the upper corner of your screen to “Close” the screen.

10. Next, click the “Tags” option from the left menu bar and select New Tag.

11. Next, click the “New” button on the upper right corner.

12. Click the Tag configuration tile as shown in this tutorial screen and wait for Google to create the tag.

13. After Google renders its popup on the right side of the screen, select “Custom HTML” from the menu options as shown in this screen.

14. Navigate to the blank field that appears under the Custom HTML link. In the blank field that you see on this screen of this tutorial you will need to apply your AvidTrak account’s JavaScript. You will now need to access your AvidTrak account. To access your AvidTrak account open a fresh browser window and be sure to keep the current Google Tag Manager page open.

15. After logging into your AvidTrak account look for the DNI button which will appear on the right corner of your account.

16. In the popup that opens, select the “Get Tracking Code” tile.

17. When the Tracking Code pop up page opens, click the “Copy Code” button to copy your account’s JS code.

18. Return to your Google Tag Manager account and paste the AvidTrak JS code in the HTML field.

19. Click the “Save” button to save your AvidTrak JavaScript in the custom HTML field.

20. Google will now render a popup advising you to setup a trigger. To setup a trigger, click the “Add trigger” button which will begin the process of creating a trigger in GTM.

21. After the trigger has been created, select the pages where you wish to apply the GTM trigger. In this example, we have selected All Pages.

22. Click the “Save” button to save all your selections and settings.

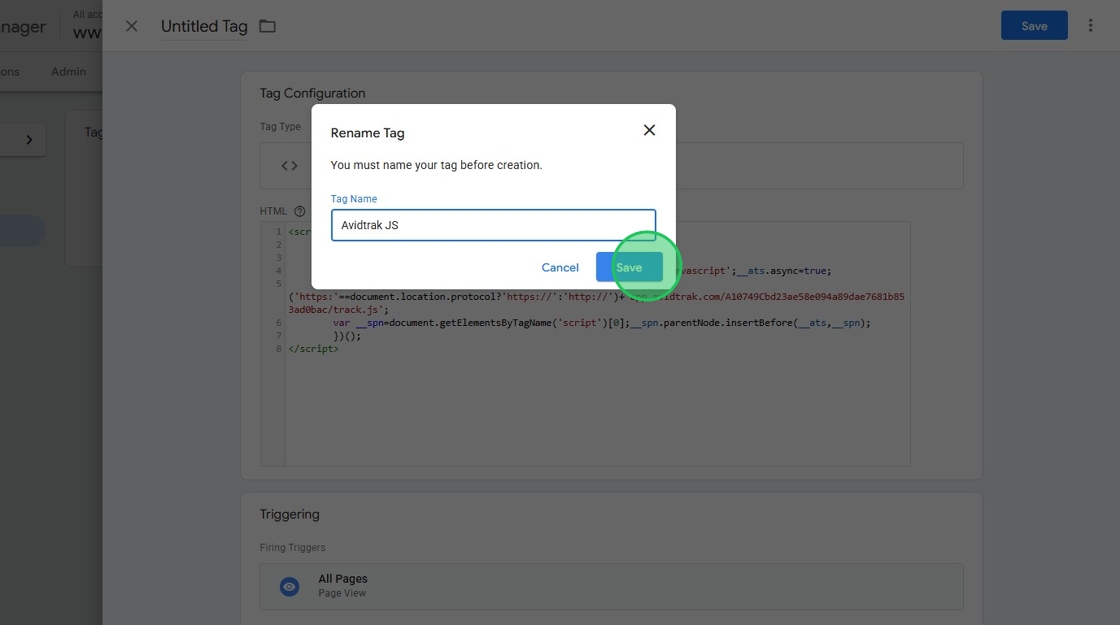
23. Google will now render another popup where you will be asked to name the tag that you have created. In the tag name field enter a name. In this example we have entered AvidTrak.js as our tag name field. After entering the tag name click the Save button to save your work.
24. Next, click “Overview” link from the left menu.

25. Click the “Submit” button.

26. After completing the submission, click the “Version Name” field and add a name in this field.

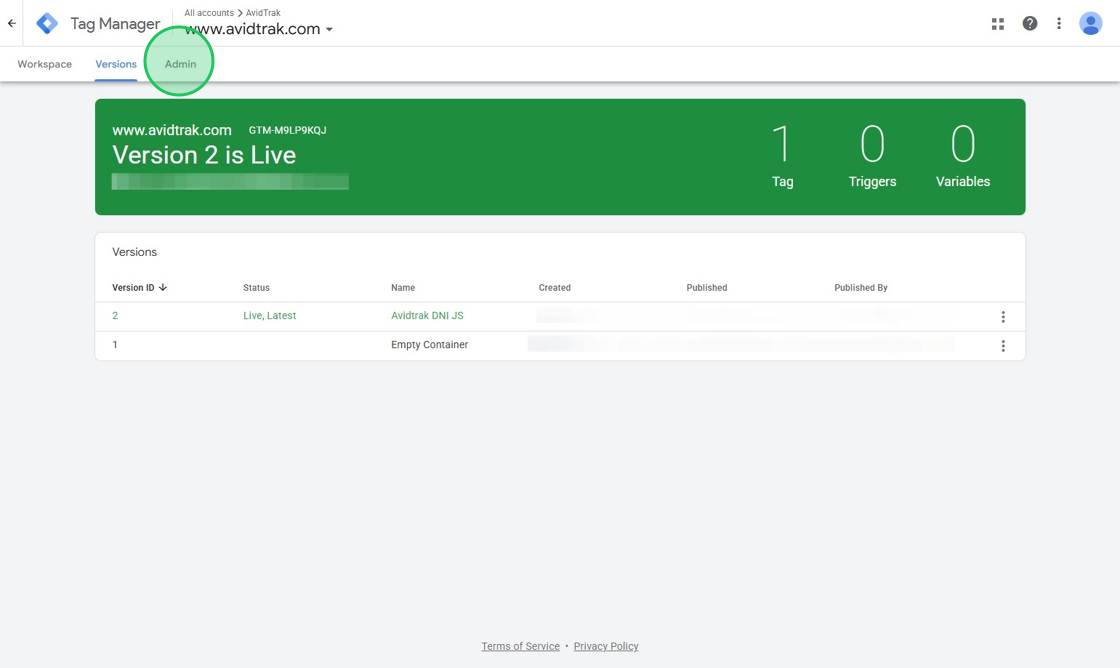
27. In the version name field add a name. In this example we have entered AvidTrak DNI.js. After entering the nameclick the “Publish” button.

28. Click the X icon on the upper left corner to close the screen.

29. Next click the Admin tab that appears adjacent to Versions.
30. Find and click the”Install Google Tag Manager” link.

31. In the pop-up screen that appears, you will need to copy the Google Tag Manager Head code that Google renders.

32. Next navigate to your website and paste the code in the header.

33. Return to the Google Tag Manager page and copy the body code.

34. Return to you website and paste the code in the body section of your website as shown in the screen here.

35. After completing the Google Tag Manager code installation on your website, you are now ready to test and validate your work. To perform the validation, return to your AvidTrak account and click the DNI button.

36. Click the “Get Tracking Code” link in the pop up.

37. Find and click the “Validate Tracking Code” tile.

38. In the field labeled “Enter Website URL” enter your website URL. In this example we have entered https://avidtrak.com

39. Click the “Validate” button after entering your website name where you have installed the Google Tag Manager code.

40. Wait for AvidTrak to verify the code installation. You will see the onscreen prompt Verifying DNI as AvidTrak performs its code checking functions.

41. If you have done your work correctly and the code has been verified successfully, you will see a checkmark appear under the Status header.

42. This completes the tutorial of how to use the Google Tag Manager to deploy your AvidTrak account’s JavaScript. If you face any difficulty in implementing these instructions or have questions related to this feature, please do not hesitate to email support@avidtrak.com