
How to set basic configuration of your AvidTrak Professional call tracking account
Quick Start / Basic Configuration of your AvidTrak Professional Account
AvidTrak Professional Accounts support Dynamic Number Insertion as well as non-dynamic (Static) number call reporting. Use dynamic numbers whenever you wish to tie-back phone calls to web visitor clicks.
After logging into your account select the menu item ‘My Account’ and click ‘My Account Setting’
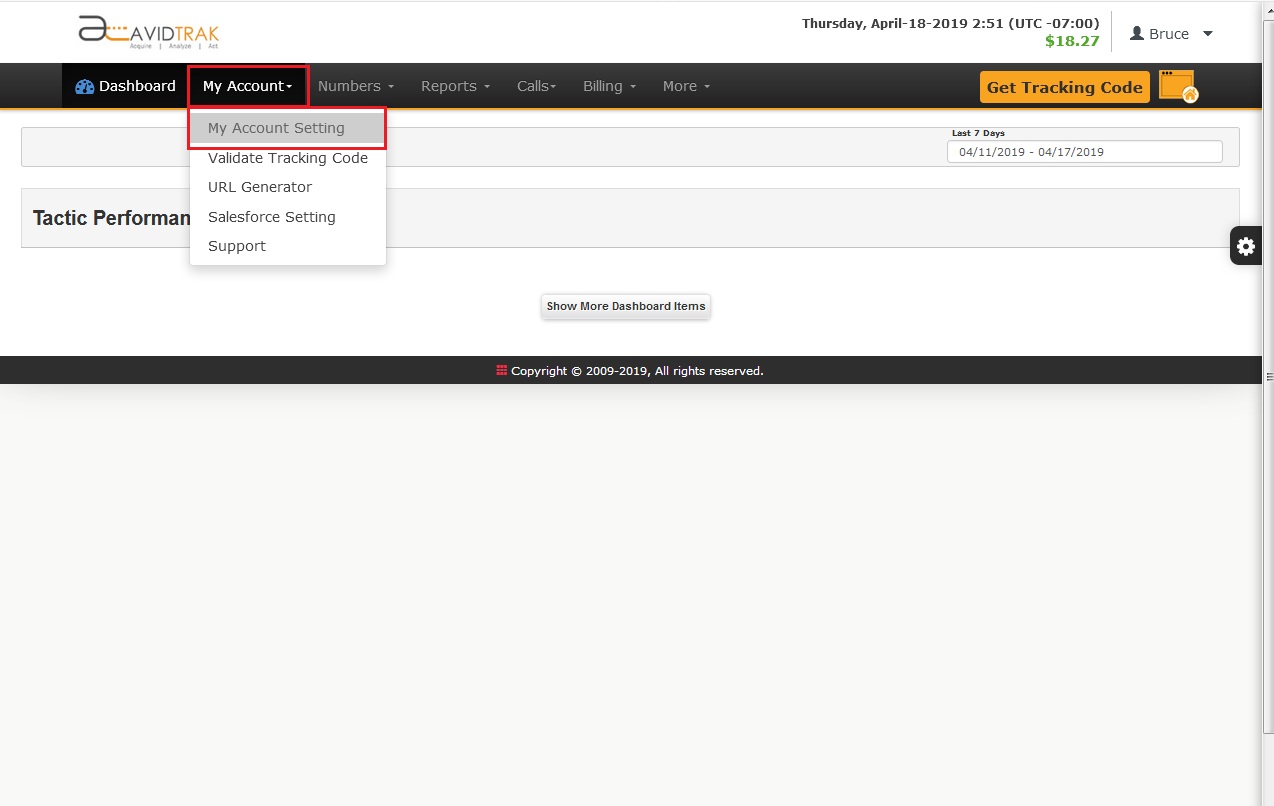
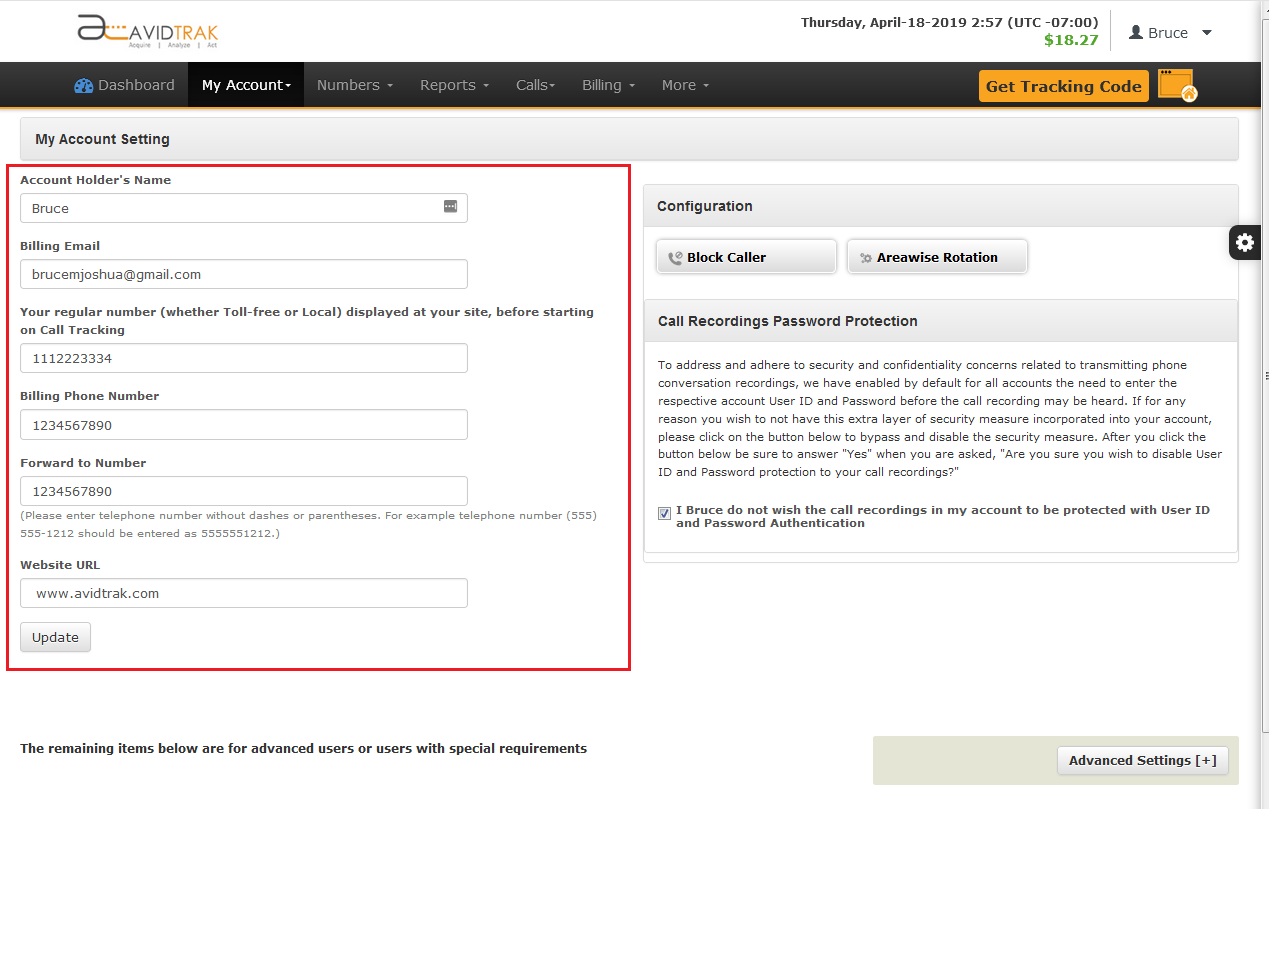
Verify that the information in all the fields under the heading ‘My Account Setting’ has been filled-in correctly. In the ‘Forward to Number’ enter the phone number that will receive calls. After you have filled in the required information be sure to click Update to save your settings.
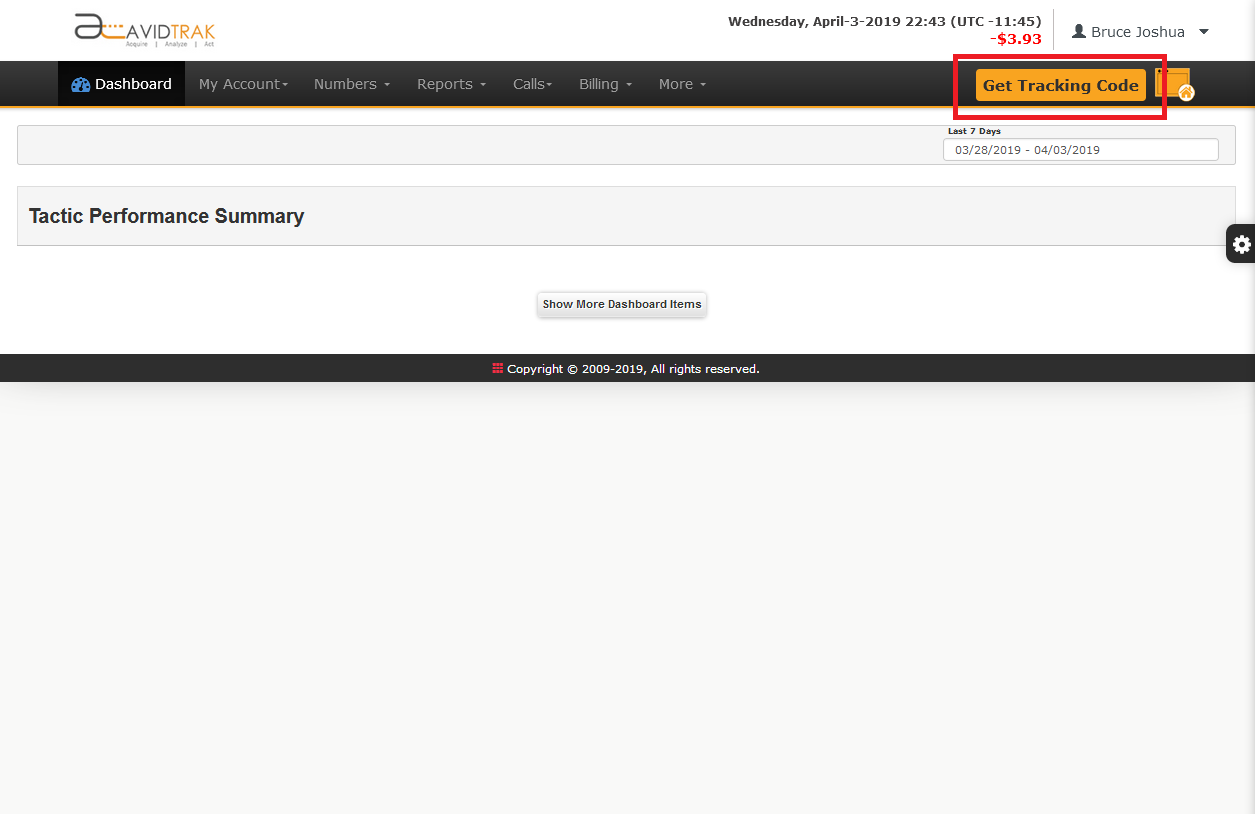
Access and Install Client Account Specific JavaScript
Click the yellow button which says ‘Get Tracking Code’
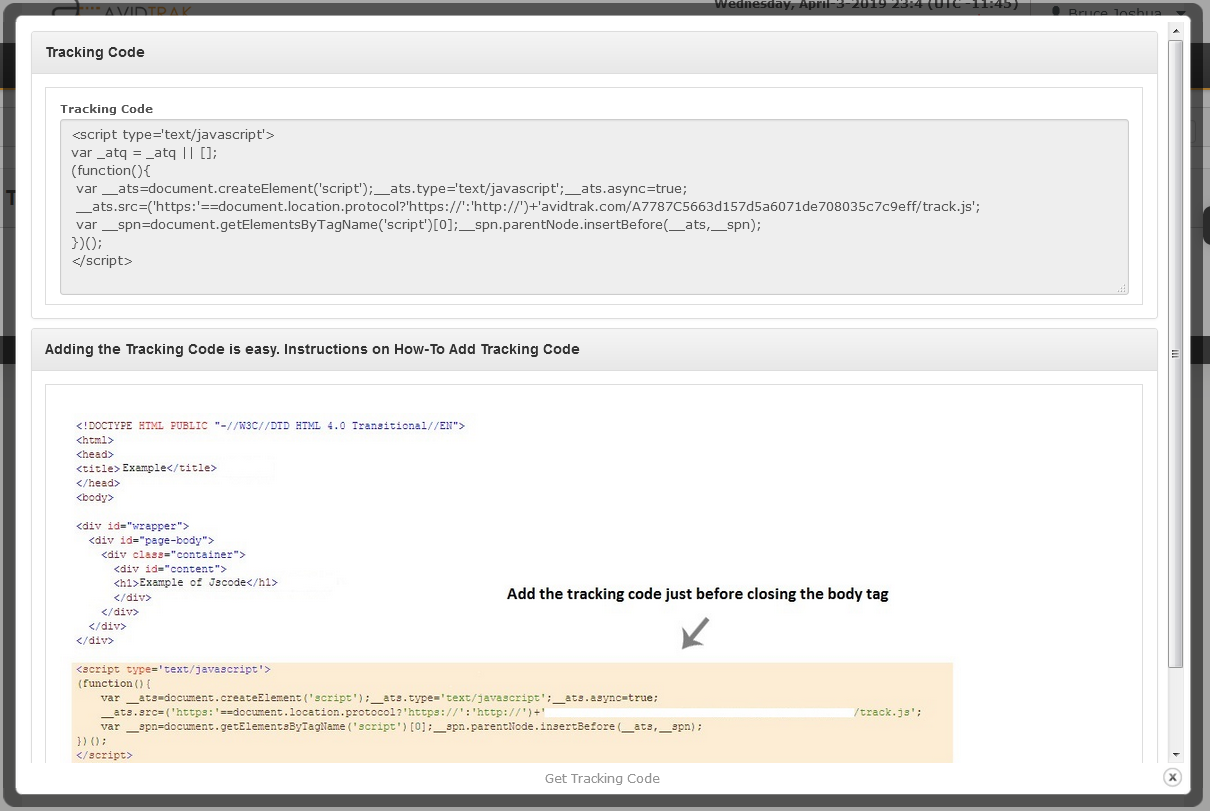
copy and paste the JavaScript (JS) code onto a notepad. Email the JS code to your Web Master
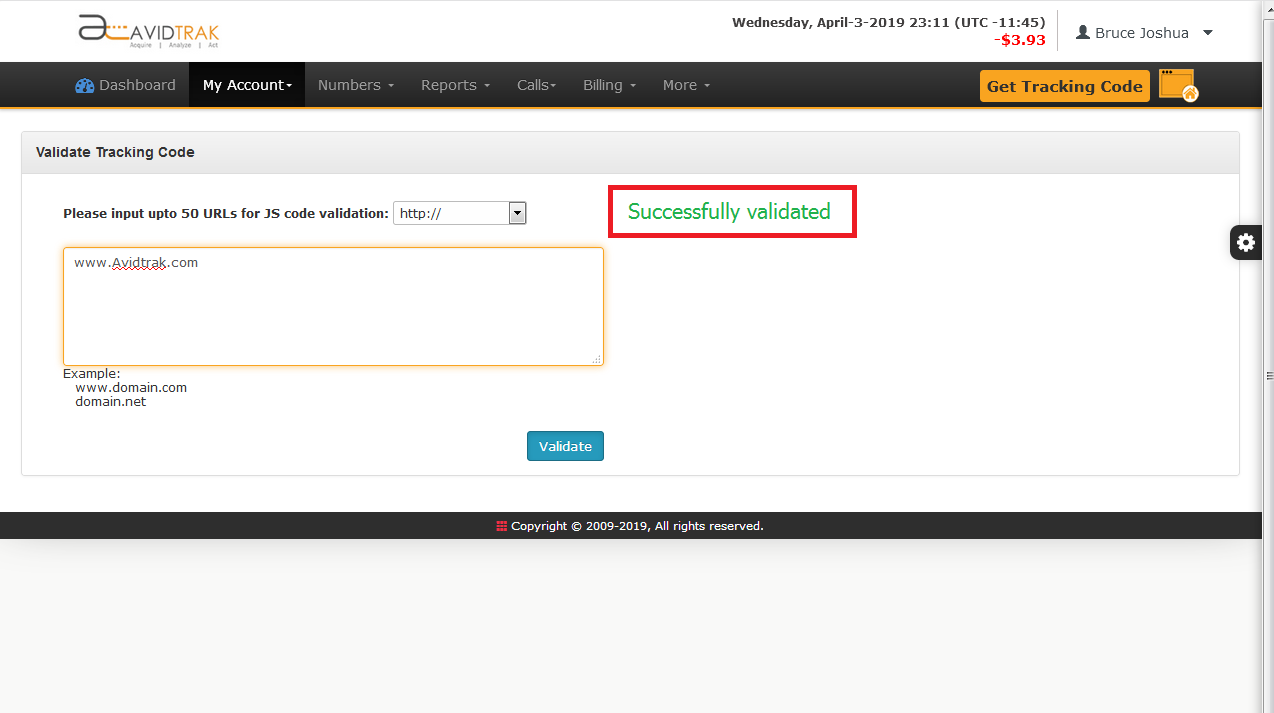
After your Webmaster has completed the JS installation on all pages where you wish to dynamically insert phone numbers, you may verify that the code has been installed correctly on the web pages by selecting the menu item My Account and clicking Validate Tracking Code.

Copy and Paste the URL of the web pages that contain AvidTrak code and click Validate. If there are no mistakes in code installation the system will generate “Successfully Validated” on the screen
Acquiring and configuring AvidTrak Professional dynamically inserted tracking number(s) to your account
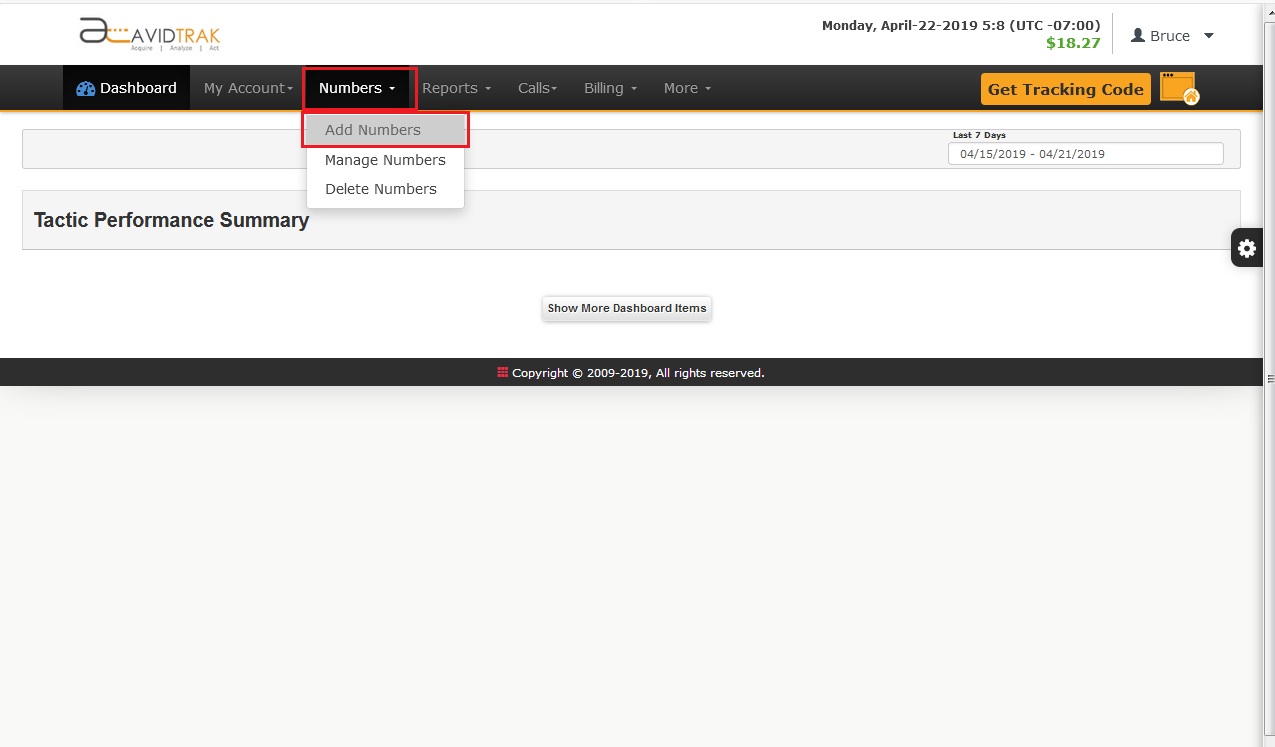
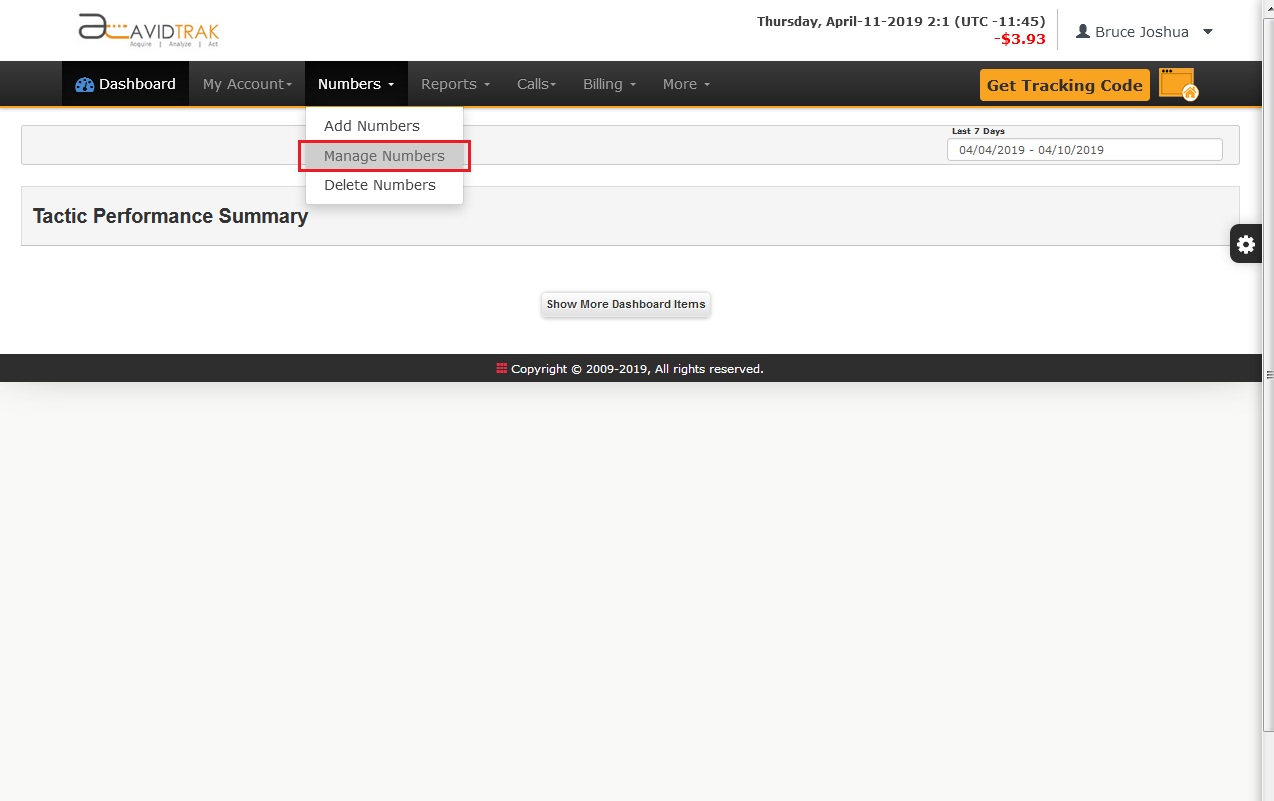
Select the menu item ‘Numbers’ and click ‘Add Numbers’ as shown in the screenshot below
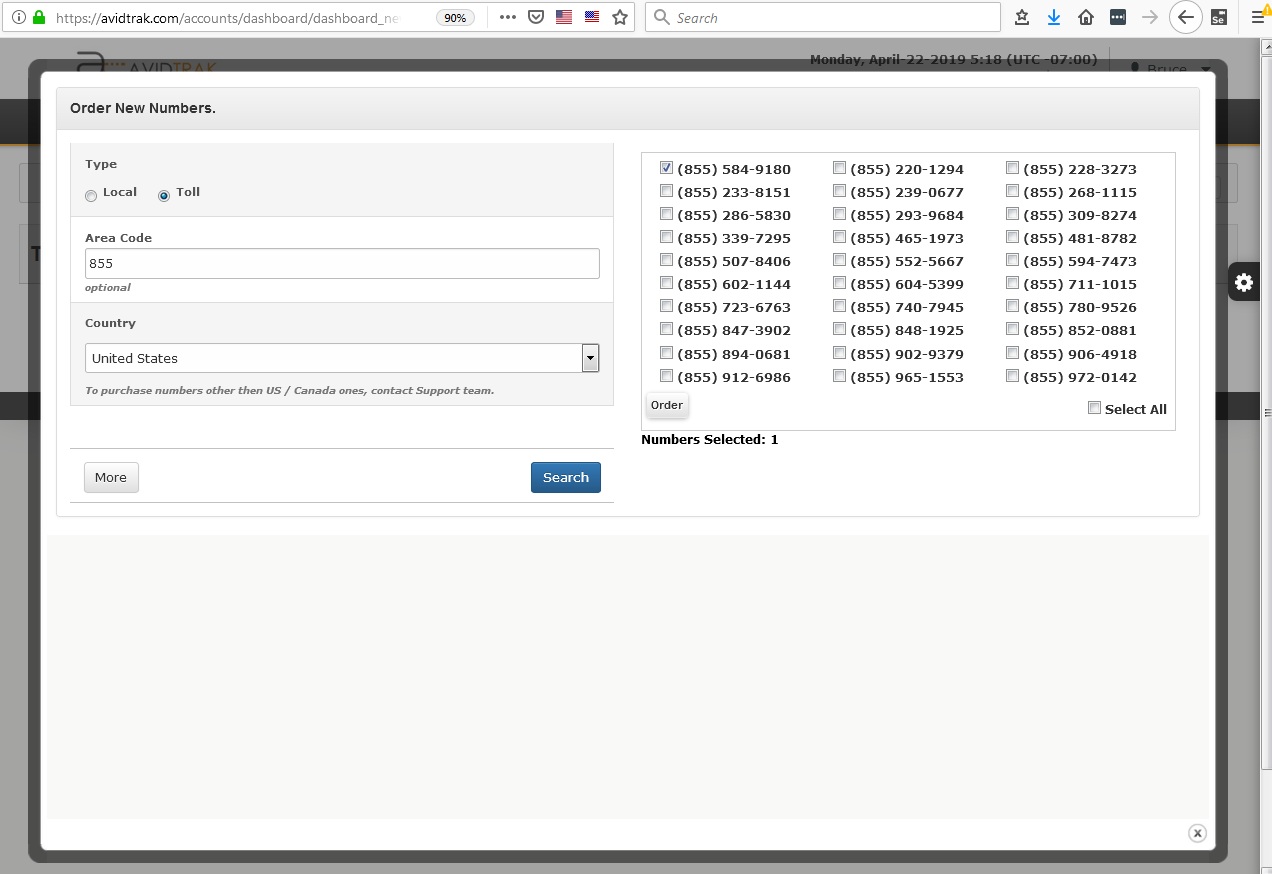
In the new screen that opens up select the type of number that you wish to purchase. This may be either a toll free or a local number. In the Area Code field enter the desired area code. Click Search to find a number that is to your liking
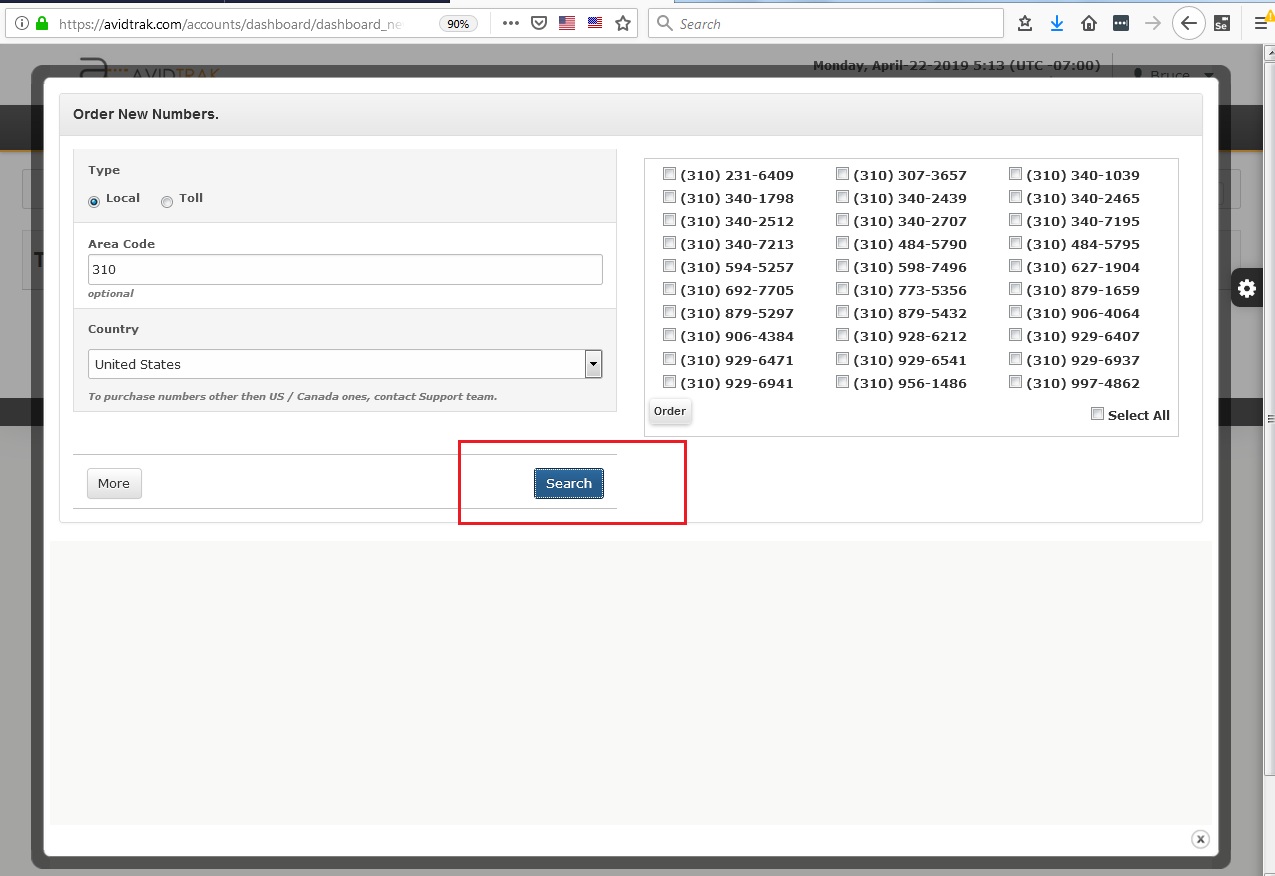
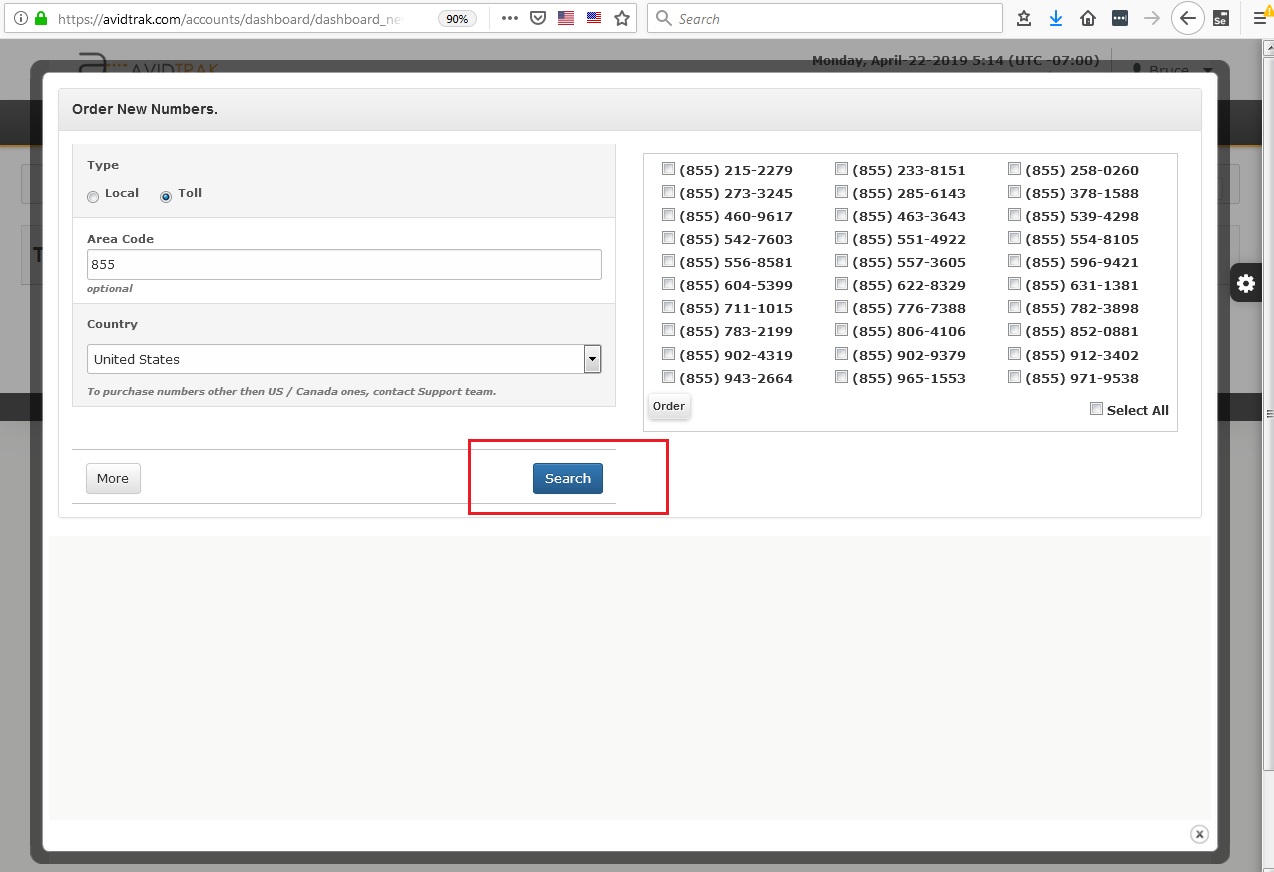
Complete selection of the number that you wish to purchase by checking the box next to your number and then click Order
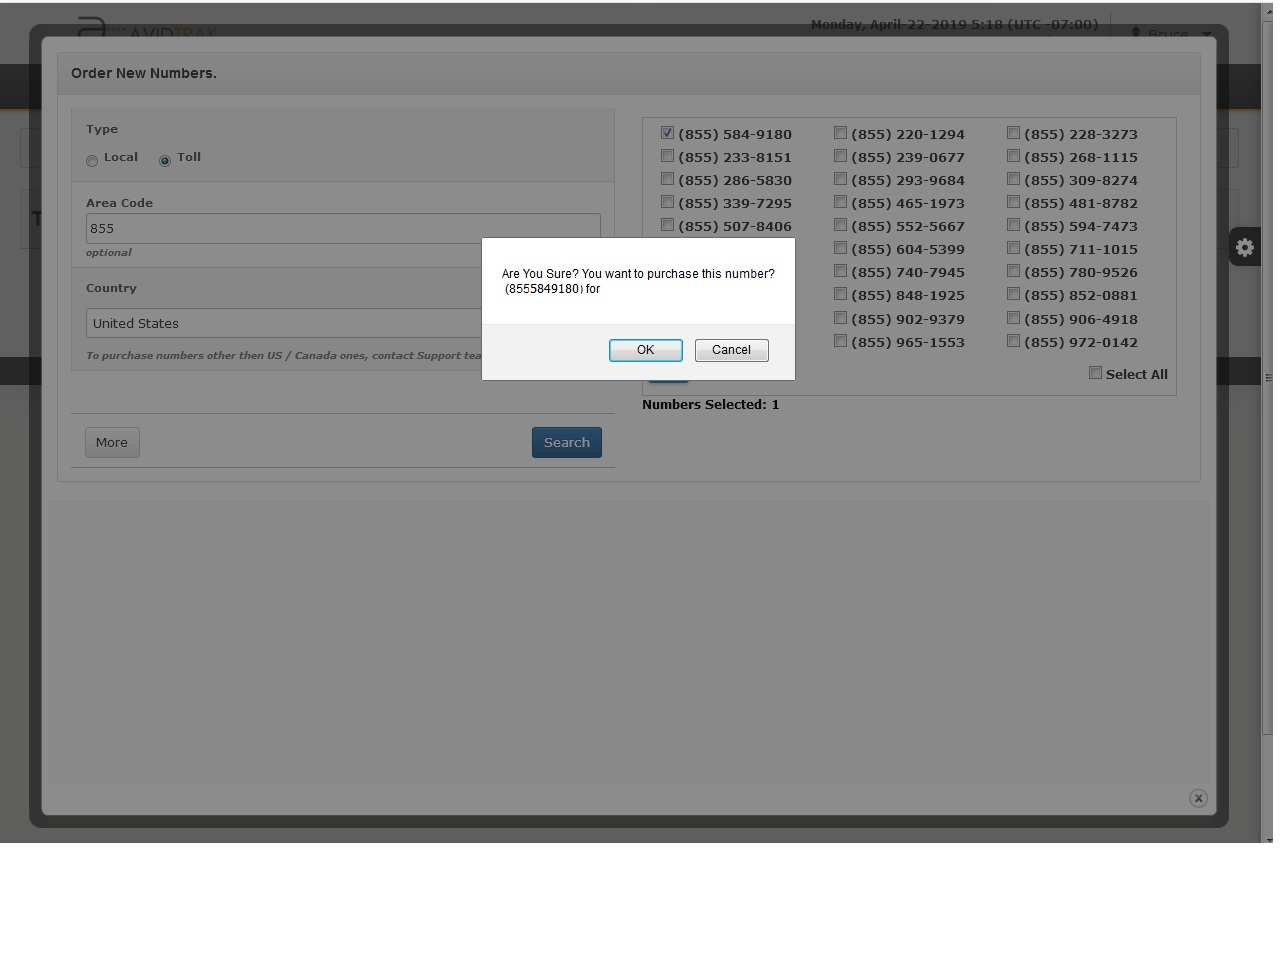
If you wish to proceed with your purchase click OK when the Onscreen pop up seeks to reconfirm your purchase decision
After you have successfully completed your phone number purchase, navigate to the menu item ‘Manage Numbers’
Every new purchase/addition of AvidTrak numbers needs to have a receiving number. To add a receiving number click the edit link under the column on receiving number
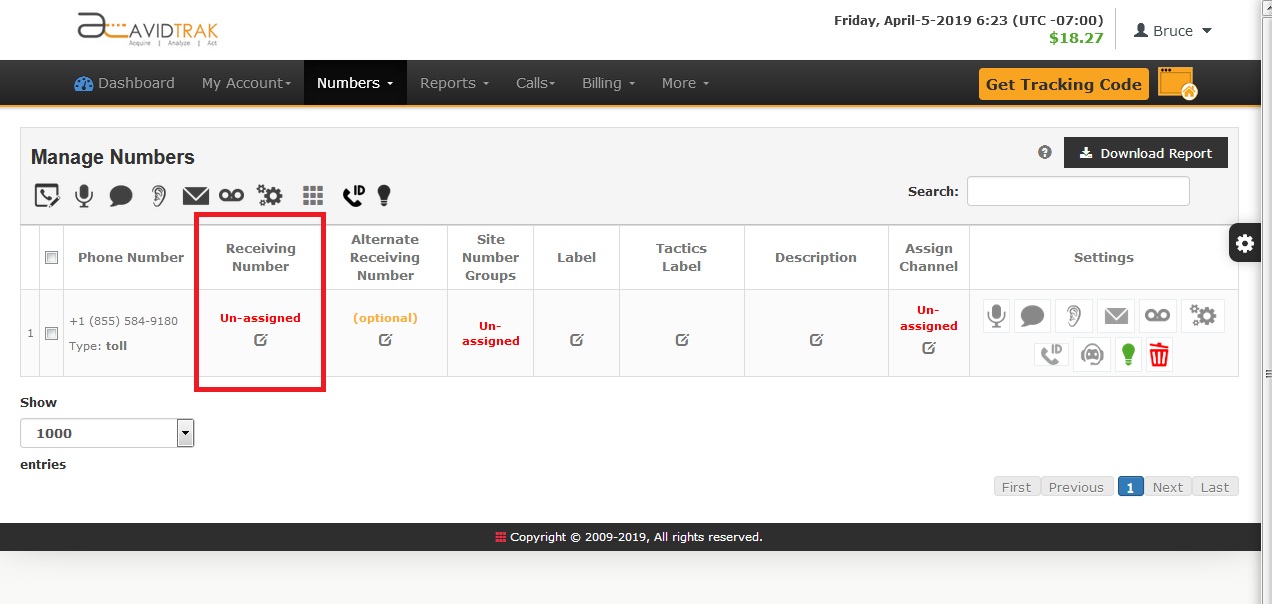
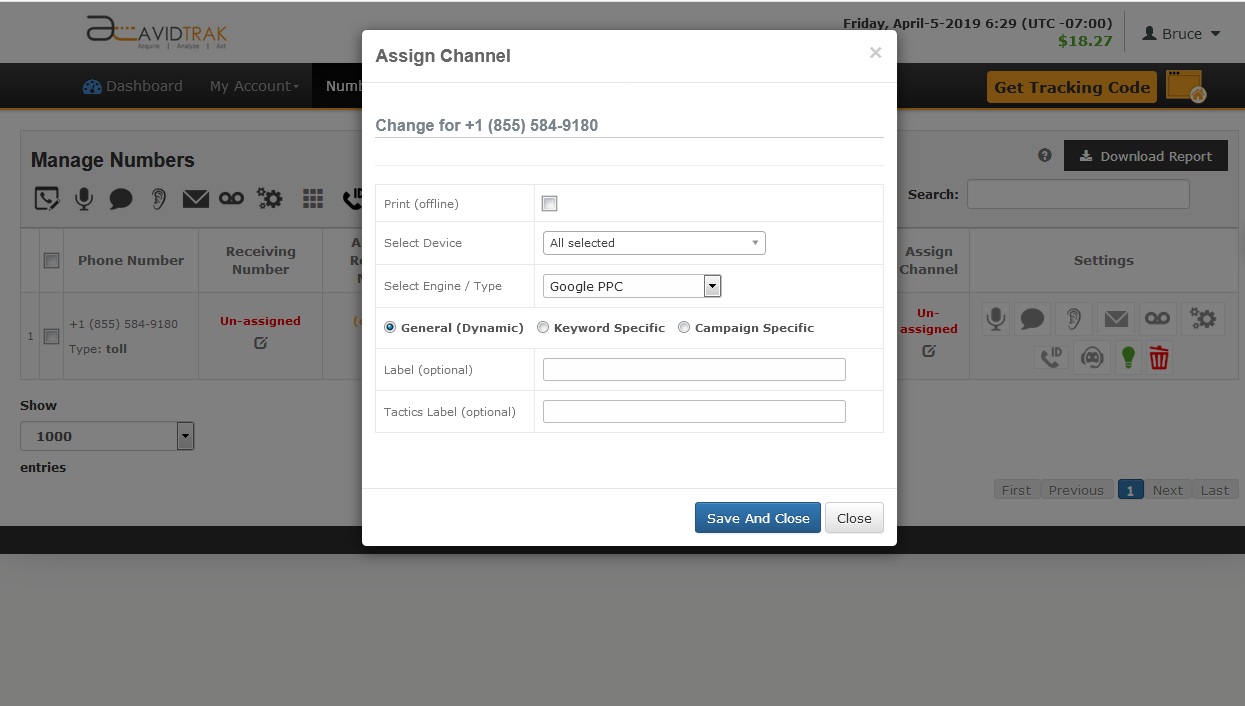
Every new purchase/addition of AvidTrak numbers needs to be allocated towards a tracking channel. To allocate a number you need to click the edit link under the assign channel column.

Select the source that you wish to assign towards this number. In the example below we have selected Google PPC. After making your selection please click the Save button. An onscreen prompt will advise you that your settings have been saved.
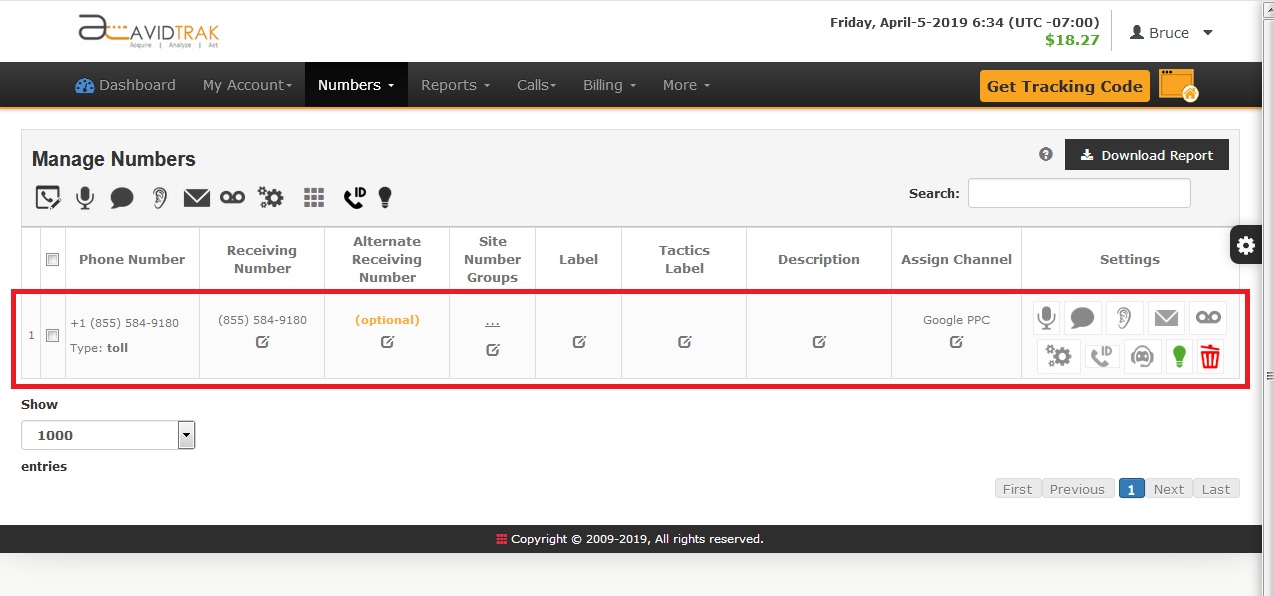
This is how your number will be listed along with the configuration you have just set
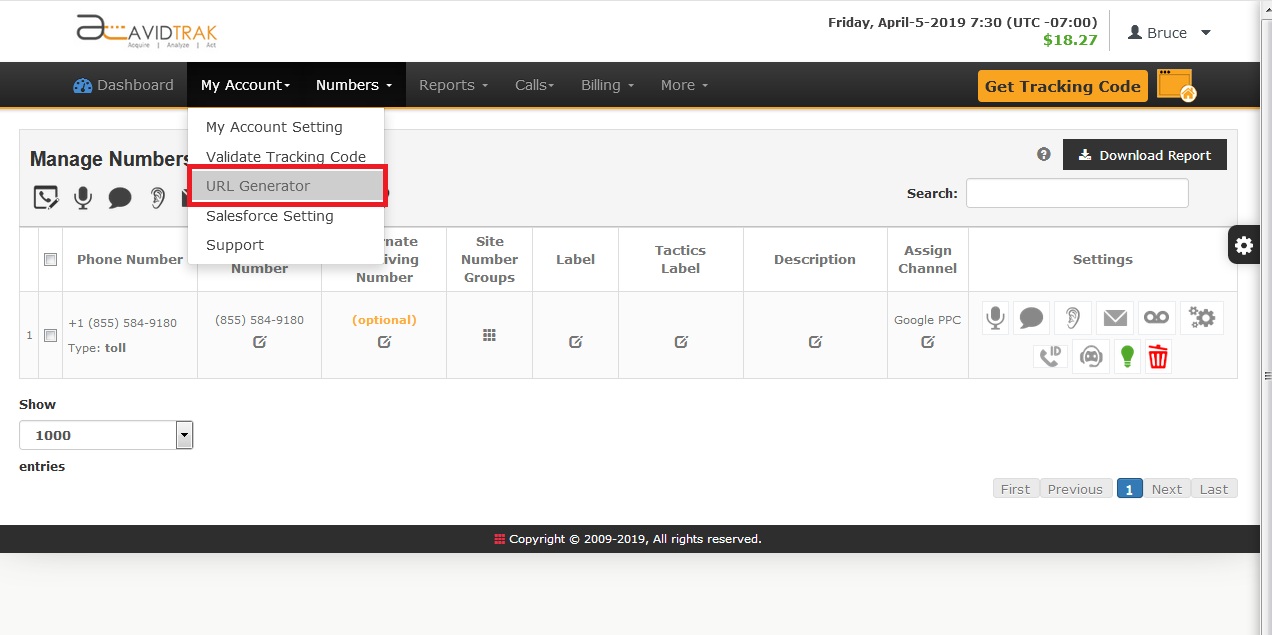
Many AvidTrak users utilize Google Adwords and MSN Ad Center tags to increase the click data that are available through search engines. AvidTrak supports Adwords ValueTrack tagging parameters as well Bing Ad Center tags. To realize the full functionality of ValueTrack click My Account > URL Generator. These tags are added to your ad’s or keyword’s destination URL.
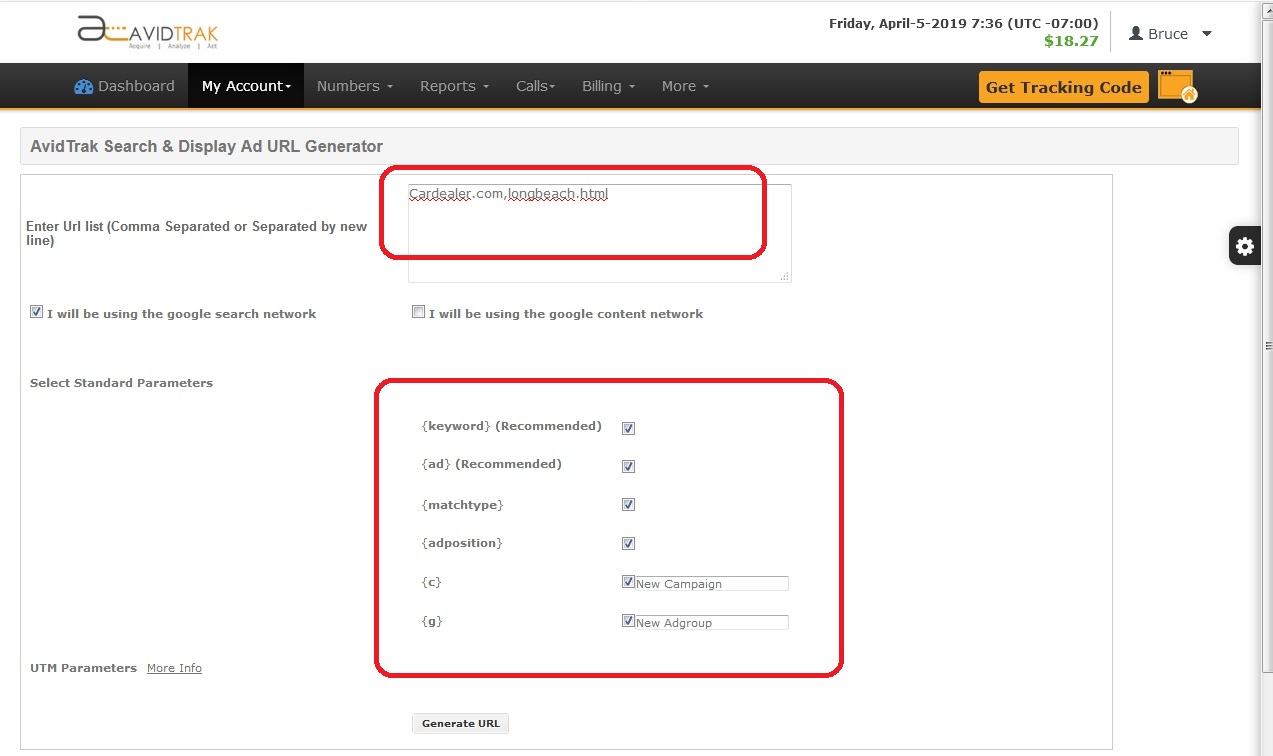
Enter the destination page URL which is to be appended with tags. For Adwords Paid Search select the box “I will be using Google Search Network” for Adwords Display select the other box. If you wish Adwords to report the match type as well as ad position then select then check the respective boxes. Checking ( c )and ( g ) will allow you to write in the campaign name and ad group name associated with your ad. Click Generate URL to create your tagged destination URL
Scrolling down through the screen you will see the Generated URLs. Copy and paste the Generated URL into the space provided for your Adwords Ad’s destination URL.
